Set up the Platform Request Triage AI agent
Overview
This guide will walk you through setting up a "Platform Request Triage" AI agent in Port. This agent helps developers submit requests to the platform team, tracks them, and notifies them upon completion. By the end of this guide, your developers will be able to create and monitor platform requests using natural language via Port's AI chat.
Common use cases
- Submit requests for new infrastructure.
- Ask for support with CI/CD pipelines.
- Request resource scaling for services.
- Track the status of ongoing platform requests.
Prerequisites
This guide assumes you have:
- The Port Slack App installed and configured.
Setup
To create the Platform Request Triage AI agent, we will create a blueprint, a self-service action, two automations, and the AI agent itself.
Create the Platform Request blueprint
This blueprint will define the data model for platform requests.
-
Go to the blueprints page in Port.
-
Click
+ Create. -
Toggle
Json modeon. -
Copy and paste the following JSON schema:
Platform Request blueprint (Click to expand)
{"identifier": "platform_request","title": "Platform Request","icon": "Octopus","schema": {"properties": {"title": {"title": "Request Title","description": "Brief title describing the platform request","type": "string"},"description": {"title": "Description","description": "Detailed description of what you need from the platform team","type": "string","format": "markdown"},"request_type": {"title": "Request Type","description": "Category of platform request","type": "string"},"runId": {"title": "Run ID","description": "The associated run that created the request","type": "string"},"urgency": {"icon": "DefaultProperty","title": "Urgency","description": "The ticket urgency","type": "string","enum": ["High","Medium","Low"],"enumColors": {"High": "yellow","Medium": "darkGray","Low": "bronze"}},"status": {"type": "string","title": "Status","description": "The ticket status","enum": ["Open","In Progress","Done","Rejected"],"enumColors": {"Open": "lightGray","In Progress": "purple","Done": "lime","Rejected": "yellow"}},"status_description": {"type": "string","title": "Status Description"}},"required": ["title","request_type","urgency"]},"mirrorProperties": {},"calculationProperties": {},"aggregationProperties": {},"relations": {"requestor": {"title": "Requestor","description": "Person who submitted this platform request","target": "_user","required": false,"many": false}}} -
Click
Create.
Create the self-service action
This action will be used by the AI agent to create new platform requests.
-
Go to the actions page.
-
Click
+ New Action. -
Toggle
Json modeon. -
Copy and paste the following JSON schema:
Create Platform Request action (Click to expand)
{"identifier": "create_platform_request","title": "Create Platform Request","icon": "Octopus","description": "Submit a request to the platform team for infrastructure, CI/CD, or resource support","trigger": {"type": "self-service","operation": "CREATE","userInputs": {"properties": {"title": {"type": "string","title": "Request Title","description": "Brief title describing what you need"},"urgency": {"enum": ["Low","Medium","High","Urgent"],"type": "string","title": "Urgency","default": "Medium","enumColors": {"Low": "lightGray","High": "orange","Medium": "yellow","Urgent": "red"},"description": "How urgent is this request?"},"description": {"type": "string","title": "Description","format": "markdown","description": "Detailed description of your request. Include context, timeline, and any specific requirements."},"request_type": {"enum": ["Infrastructure","CI/CD Support","Resource Scaling","Research","Other"],"type": "string","title": "Request Type","enumColors": {"Other": "lightGray","Research": "purple","CI/CD Support": "green","Infrastructure": "blue","Resource Scaling": "orange"},"description": "What category best describes your request?"}},"required": ["title","request_type","urgency"]},"blueprintIdentifier": "platform_request"},"invocationMethod": {"type": "WEBHOOK","url": "https://slack.com/api/chat.postMessage","agent": false,"synchronized": true,"method": "POST","headers": {"Content-Type": "application/json; charset=utf-8","Authorization": "Bearer {{ .secrets.\"__SLACK_APP_BOT_TOKEN_YOUR_TOKEN\" }}"},"body": {"blocks": [{"type": "markdown","text": "\nYour platform request for *{{ .inputs.title}}* has been approved and is now `Done`! 🎉\n\nFor more information click <https://app.port.io/platform_requestEntity?identifier={{ .run.id }}|here>."}],"channel": "YOUR_CHANNEL_ID"}},"requiredApproval": {"type": "ANY"},"approvalNotification": {"type": "email"}}Slack ConfigurationTo use the Slack integration for notifications, you need to provide a bot token and a channel ID.
-
Bot Token: Replace
__SLACK_APP_BOT_TOKEN_YOUR_TOKENwith the credential name from Port's credentials. To find your credential name:- In your Port application, click on your profile picture
 .
. - Click on Credentials.
- Click on the
Secretstab. The credential name follows the pattern__SLACK_APP_BOT_TOKEN_<team_id>(e.g.__SLACK_APP_BOT_TOKEN_T0206G5RTJQ).
- In your Port application, click on your profile picture
-
Channel ID: Replace
YOUR_CHANNEL_IDwith the ID of the Slack channel where you want to send notifications. You can also use a JQ expression to dynamically select the channel.
For more details, refer to the Port Slack App documentation.
-
-
Click
Create.
Create an automation to generate the request entity
This automation will trigger when the self-service action runs, creating a new platform_request entity.
-
Go to the actions page and select the
Automationstab. -
Click
+ New Automation. -
Toggle
Json modeon. -
Copy and paste the following JSON schema:
Create Platform Request automation (Click to expand)
{"identifier": "create_platform_requests","title": "Create Platform Requests","description": "Create platform requests upon requests","icon": "Octopus","trigger": {"type": "automation","event": {"type": "RUN_CREATED","actionIdentifier": "create_platform_request"},"condition": {"type": "JQ","expressions": [],"combinator": "and"}},"invocationMethod": {"type": "UPSERT_ENTITY","blueprintIdentifier": "platform_request","mapping": {"identifier": "{{ .event.diff.after.id }}","title": "{{ .trigger.by.user.email }} - {{ .event.diff.after.properties.title }}","properties": {"title": "{{ .event.diff.after.properties.title }}","status": "Open","urgency": "{{ .event.diff.after.properties.urgency }}","description": "{{ .event.diff.after.properties.description }}","request_type": "{{ .event.diff.after.properties.request_type }}","runId": " {{ .event.diff.after.id }}"},"relations": {"requestor": "{{ .trigger.by.user.email }}"}}},"publish": true} -
Click
Create.
Create an automation to approve the run
This automation will approve the original action run when the platform team updates the request's status.
-
Go to the actions page and select the
Automationstab. -
Click
+ New Automation. -
Toggle
Json modeon. -
Copy and paste the following JSON schema:
Approve Platform Request Run automation (Click to expand)
{"identifier": "approve_platform_request_run","title": "Approve Platform Request Run","description": "Approve platform requests runs when done","icon": "Octopus","trigger": {"type": "automation","event": {"type": "ENTITY_UPDATED","blueprintIdentifier": "platform_request"},"condition": {"type": "JQ","expressions": [".diff.after.properties.status != \"Open\"",".diff.after.properties.status != \"In Progress\""],"combinator": "and"}},"invocationMethod": {"type": "WEBHOOK","url": "https://api.us.port.io/v1/actions/runs/{{ .event.diff.after.properties.runId }}/approval","agent": false,"synchronized": true,"method": "PATCH","headers": {"RUN_ID": "{{ .run.id }}","Content-Type": "application/json"},"body": {"status": "{{ .event.diff.after.properties | if .status == \"Done\" then \"APPROVE\" elif .status == \"Rejected\" then \"DECLINE\" else \"DECLINE\" end }}","{{if (.event.diff.after.properties.status_description != null) then \"description\" else null end}}": "{{ .event.diff.after.properties.description }}"}},"publish": true} -
Click
Create.
Create the AI agent
Finally, let's create the AI agent that will interact with users.
-
Go to the AI Agents page.
-
Click
+ AI Agent. -
Toggle
Json modeon. -
Copy and paste the following JSON schema:
Platform Bot agent (Click to expand)
{"identifier": "platform_bot","title": "Platform Bot","icon": "Octopus","properties": {"description": "Platform Bot responsible for helping developers create platform requests and check their status. Assists with infrastructure, CI/CD, resource scaling, and research requests.","status": "active","prompt": "You are the Platform Team assistant. Help developers:\n1. Create platform requests by understanding their needs and pre-filling forms\n2. Check status of existing requests\n3. Provide guidance on request types\n\nWhen a developer wants to create a new platform request, call the \"create_platform_request\" action with the appropriate details.","execution_mode": "Automatic","conversation_starters": ["I need help scaling our payment service resources","Can you create a request for CI/CD pipeline optimization?","What platform requests are currently open?","Show me my pending platform requests","I need research help for implementing Redis caching"],"tools": ["^(list|search|track|describe)_.*","^run_create_platform_request$"]},"relations": {}}MCP Enhanced CapabilitiesThe AI agent uses MCP (Model Context Protocol) enhanced capabilities to automatically discover important and relevant blueprint entities via its tools. The
^(list|search|track|describe)_.*pattern allows the agent to access and analyze related entities in your software catalog, such as platform requests, users, and teams. Additionally, we allow the corresponding self-service action in the agent's Allowed Actions input (or include^run_create_platform_request$in thetoolslist in Advanced mode (regex)), which instructs the AI agent to call this specific action to create new platform requests. -
Click
Create.
How it works
Here's a summary of the workflow you just created:
- A developer uses the Platform Bot (from Slack or the Port UI) to create a new platform request.
- The AI agent triggers the Create Platform Request self-service action.
- The action run is created and is in an
Awaiting approvalstate. - The Create Platform Requests automation is triggered by the new run, creating a
platform_requestentity with a status ofOpen. - A platform engineer reviews the open request. They can update its status to
In Progress, and eventually toDoneorRejected. - When the status changes to
DoneorRejected, the Approve Platform Request Run automation is triggered. - This automation approves or declines the original action run.
- Upon approval, the action's invocation method is executed, sending a Slack notification to the requester.
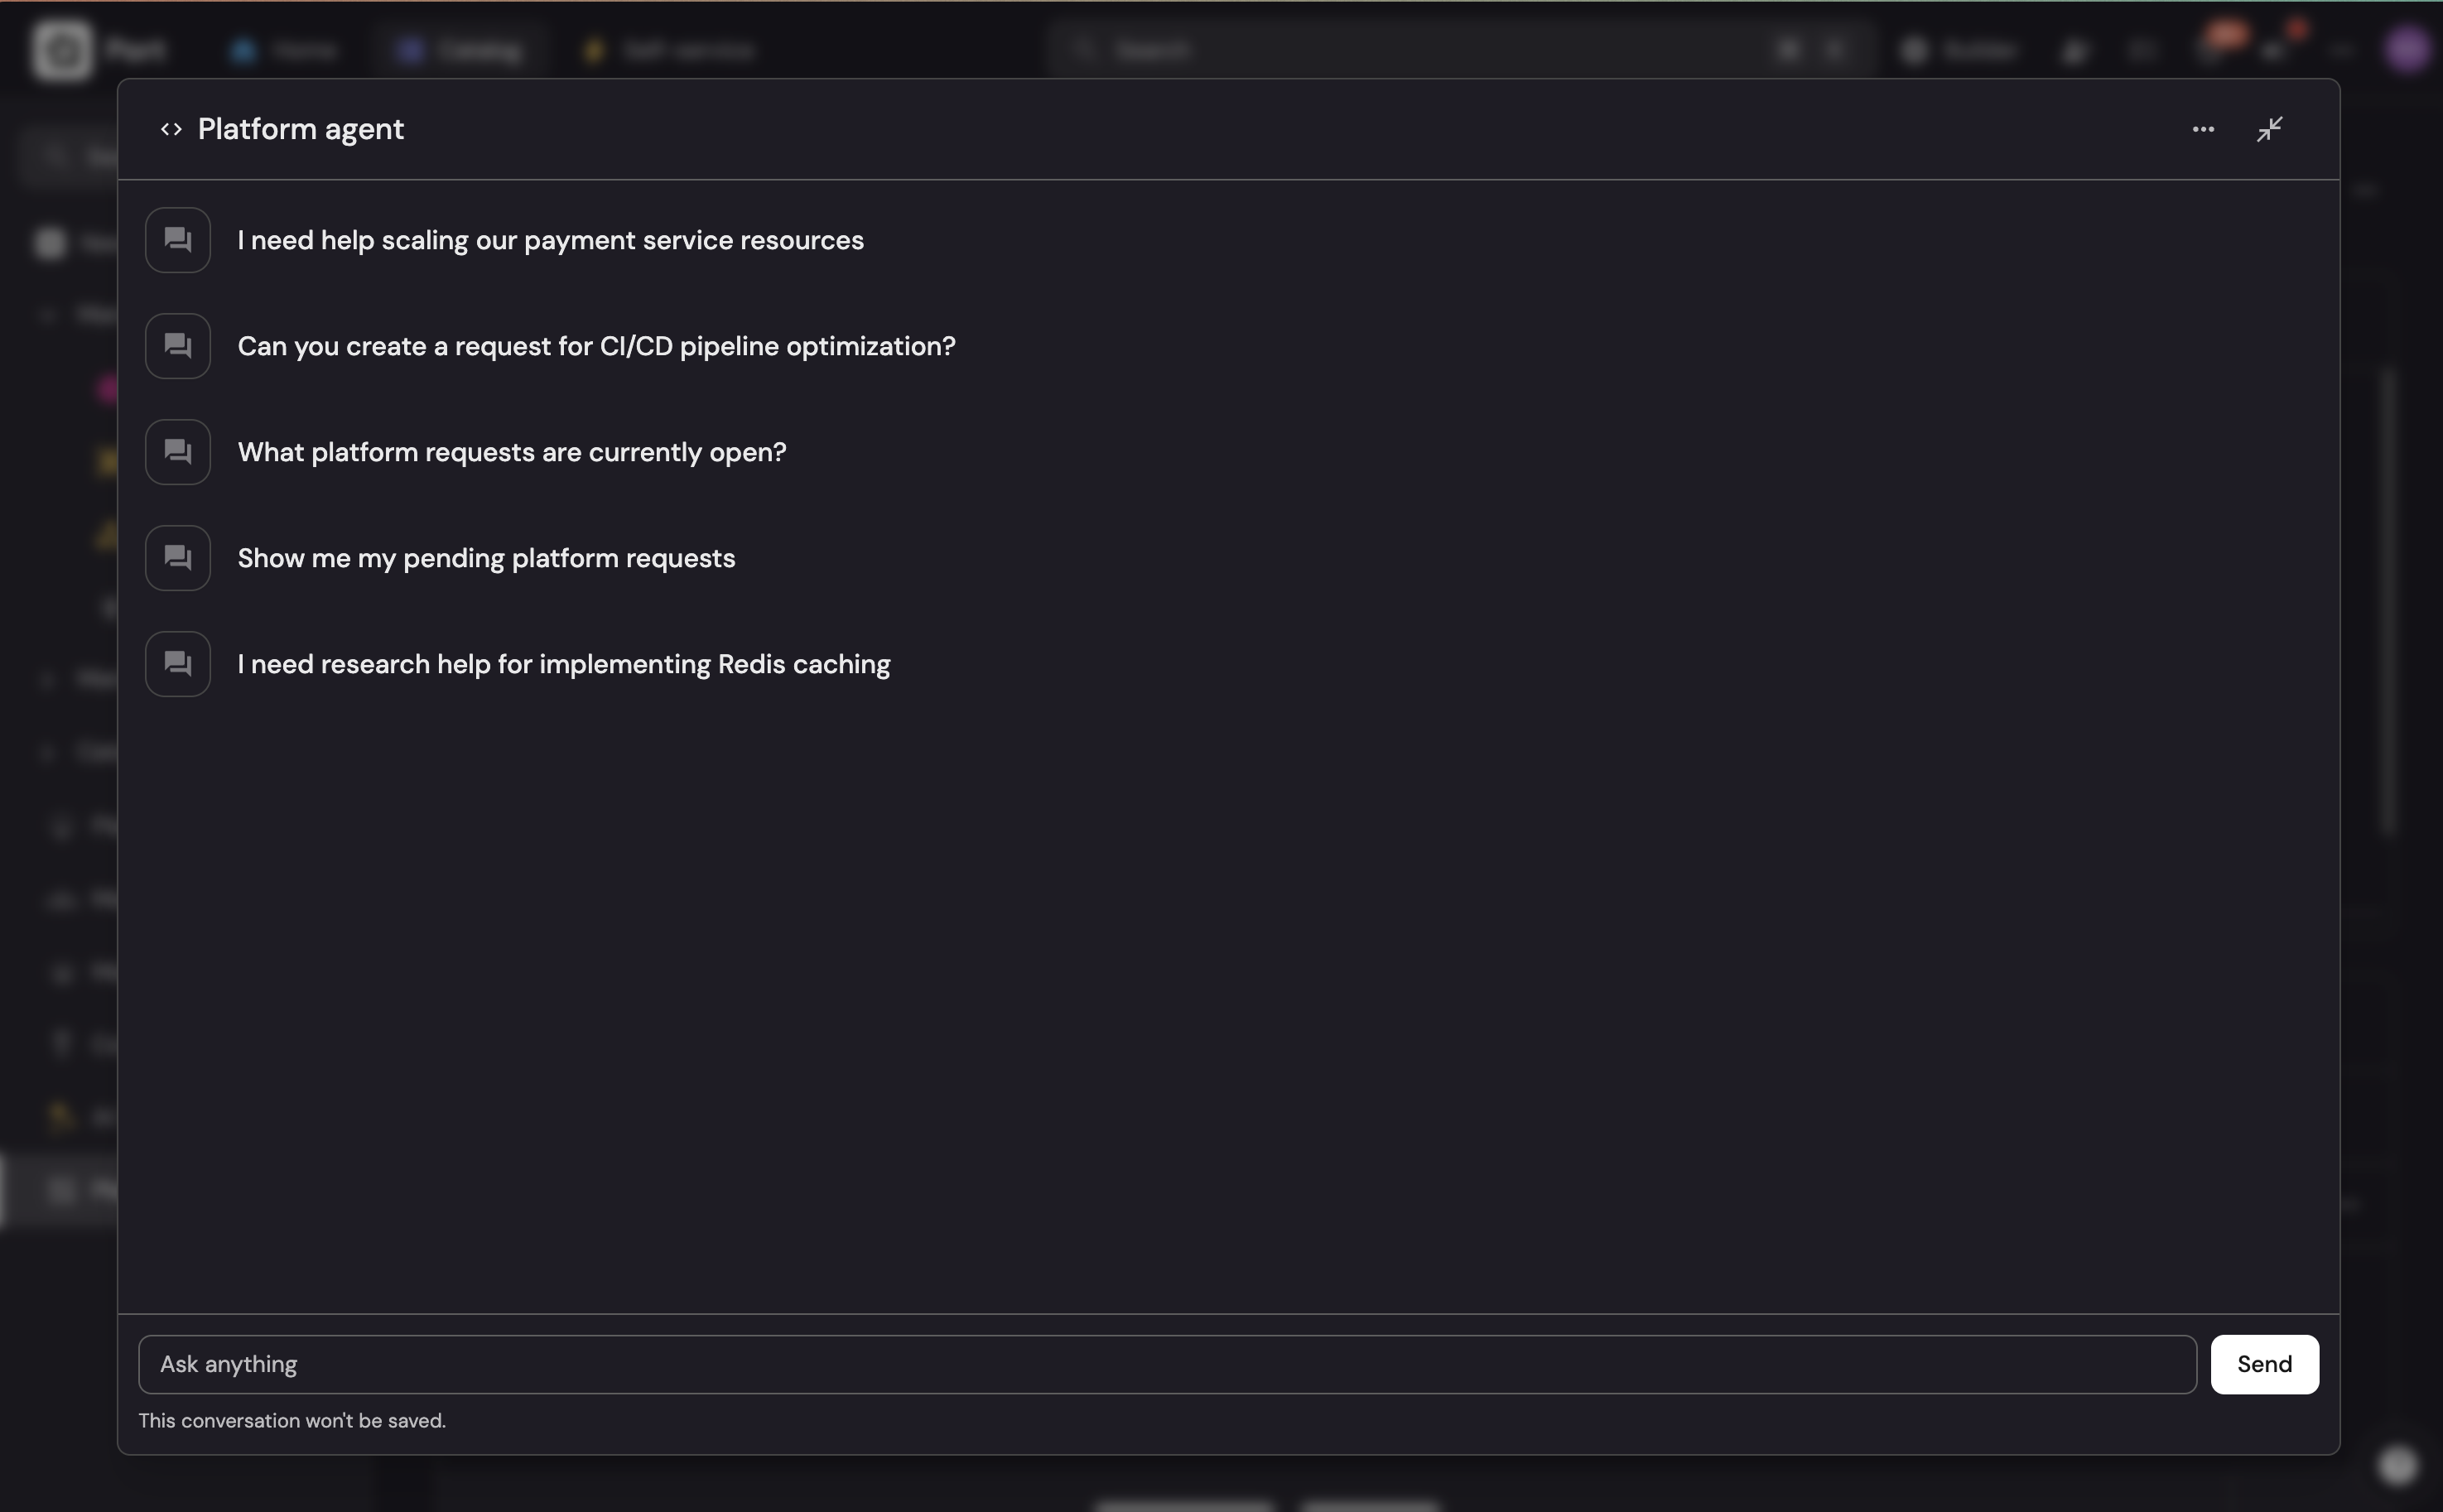
Interact with the agent
You can interact with the Platform Bot AI agent in two main ways: through the Port UI or via Slack.
- Port UI
- Slack Integration
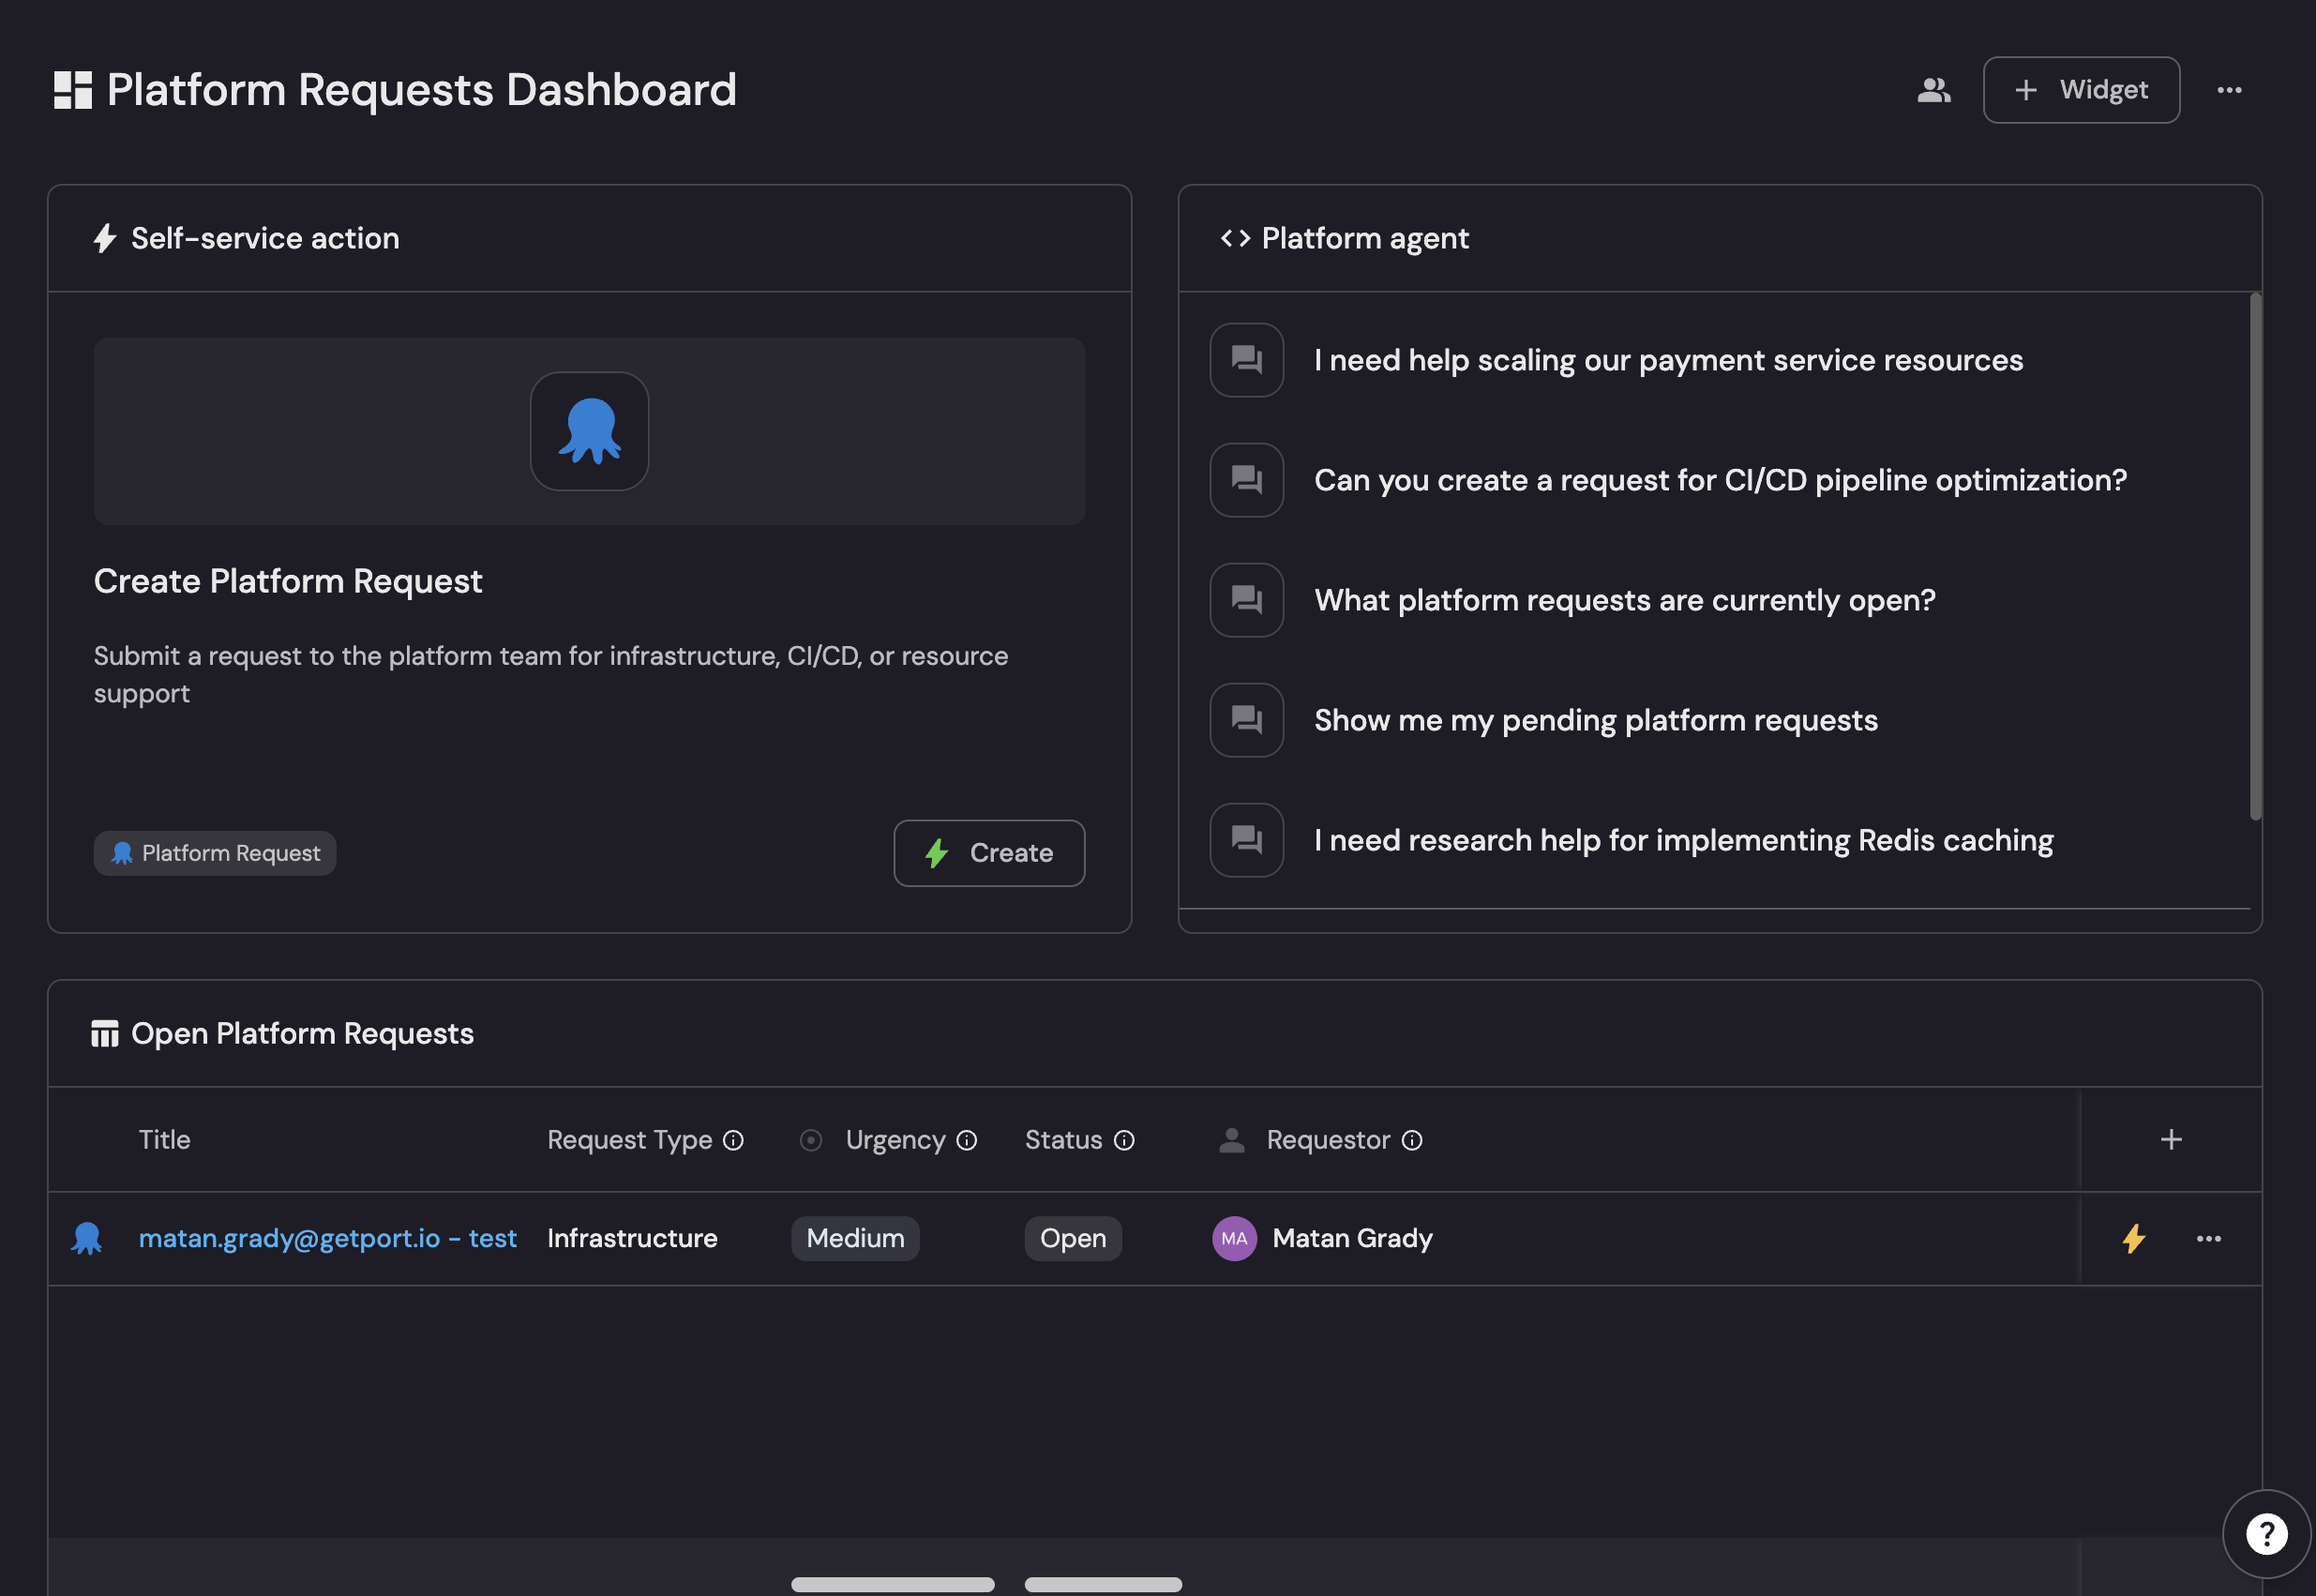
Add an AI Agent widget to your Port dashboard:
- Go to the homepage of your portal.
- Click
+ Widgetand chooseAI agent. - Set the
Titleto "Platform Bot" and select it from theAgentdropdown. - Click
Save.
You can now use the widget to interact with your agent.
You can also ask platform request questions through the Port Slack App. In Slack, you can either send a direct message to the Port AI Assistant or mention it in any channel it's part of.
Example queries:
@Port I need to request a new CI/CD pipeline for my project. It's high urgency.
@Port What is the status of my request to scale the payment service?
@Port Show me all open platform requests.
The Slack app routes all requests to the Port AI general assistant, not to specific AI agents. The assistant can answer questions about your software catalog, but it does not invoke the Platform Bot agent or any other configured agent directly. For agent-specific interactions, use the AI Agent widget in the Port UI.

Possible enhancements
- Automated Request Fulfillment: For common and simple requests, you can enhance the AI agent by allowing it to trigger other self-service actions that fulfill the request automatically, bypassing the manual triage process. For example, if you have an action to scaffold a new service, the agent can trigger it directly for such requests.
- Dynamic Notifications: Instead of a hardcoded Slack channel, you can use JQ in the
create_platform_requestaction to send notifications to the requestor's team channel or to the requestor directly via DM. - Richer Context: Add more blueprints to the agent's
allowed_blueprintsto provide it with more context about your services, environments, and teams. This will allow it to answer more complex questions.