Ingest prompts and skills from GitHub using GitOps
This guide includes steps that require integration with GitHub:
- GitHub (Ocean) - uses the Ocean framework. We strongly recommend this integration for new and migrated setups.
- GitHub (Sunset) - uses a GitHub app that is in sunset and will be fully deprecated on September 15, 2026.
Teams that manage AI prompts and skills as code need a reliable way to sync those assets into Port. This guide shows you how to structure prompt and skill files in your GitHub repositories and map them to Port blueprints using the GitHub app integration. This gives you a GitOps workflow where GitHub is the source of truth and Port stays in sync automatically.
Common use cases
- Keep AI prompts and skills version-controlled with clear audit trails.
- Avoid manual entity creation and drift across systems.
Prerequisites
This guide assumes the following:
- You have a Port account and have completed the onboarding process.
- GitHub (Ocean)
- GitHub (Sunset)
- GitHub Ocean integration is installed in your account.
- Port's GitHub app is installed in your account.
Set up data model
Let's create two blueprints to manage AI prompts and skills.
Create the prompt blueprint
Follow the steps in the Set up the data model section of the prompts documentation to create the prompt blueprint.
Create the skill blueprint
Follow the steps in the Step 1: Create the skill blueprint section of the skills documentation to create the skill blueprint.
Recommended file structure
You can map GitHub files and folders to Port entities. The structure below keeps prompts and skills consistent and predictable.
Prompt files
Store prompts as YAML files under .github/prompts using the .prompt.yaml suffix. This is consistent with GitHub's prompt storage standard.
Example file: .github/prompts/code-review.prompt.yaml.
Example prompt file (click to expand)
name: code-review
description: Review code changes for correctness, security, performance, and test coverage following repo conventions.
arguments:
  - name: change_scope
    description: Summary of the changes or files to review.
    required: false
  - name: focus_areas
    description: Specific concerns to prioritize (e.g., security, performance).
    required: false
message: |-
  # Code review

  Review code changes for this repository.

  Inputs:
  - change_scope: {{change_scope}}
  - focus_areas: {{focus_areas}}

  ## Instructions

  Focus on:
  - correctness and edge cases.
  - security risks and input validation.
  - performance regressions.
  - missing tests or insufficient coverage.
  - adherence to repo conventions in `AGENTS.md`.

  Output format:
  1. Findings (ordered by severity).
  2. Questions and assumptions.
  3. Suggested fixes.

  ## Examples
  - Review changes in {{change_scope}} with focus on {{focus_areas}}.
  - If {{change_scope}} is empty, review the full diff and infer key risks.

  ## Guidelines
  - Be specific and cite affected areas.
  - Prioritize actionable feedback.
Skill folders
Store each Anthropics skill in its own folder under skills/. Each folder should include a SKILL.md file with YAML frontmatter and instructions. You can add supporting files under references/ and assets/ as needed.
Example file: skills/my-skill/SKILL.md.
Example skill file (click to expand)
---
name: my-skill-name
description: A clear description of what this skill does and when to use it
---

# My skill name

Add your instructions here that the AI should follow when this skill is active.

## Examples
- Example usage 1.
- Example usage 2.

## Guidelines
- Guideline 1.
- Guideline 2.
Make sure your prompt and skill files contain only the fields you intend to expose in Port, and avoid including secrets or credentials in any file content that will be ingested.
Update integration mapping
Now you will configure the GitHub integration to ingest prompts and skills from your repositories.
- Go to the data sources page of your portal.
- Find your GitHub integration and click on it.
- Go to the
Mappingtab. - Update the mapping configuration:
- GitHub (Ocean)
- GitHub (Sunset)
GitHub Ocean mapping configuration (click to expand)
deleteDependentEntities: false
createMissingRelatedEntities: true
enableMergeEntity: true
resources:
  - kind: repository
    selector:
      query: 'true'
      teams: true
      includedFiles:
        - README.md
    port:
      entity:
        mappings:
          identifier: .name
          title: .name
          blueprint: '"githubRepo"'
          properties:
            readme: .__includedFiles["README.md"]
            url: .html_url
            defaultBranch: .default_branch
          relations:
            githubTeams: '[.teams[].id | tostring]'

  - kind: folder
    selector:
      query: 'true'
      folders:
        - path: '**/skills/*'
          organization: my-org  # Optional if githubOrganization is set (required if not set)
          repos:
            - name: my-repo
              branch: main
      includedFiles:
        - SKILL.md
    port:
      entity:
        mappings:
          identifier: .__repository.name + "-" + (.folder.path | split("/") | last)
          title: .__repository.name + "-" + (.folder.path | split("/") | last)
          blueprint: '"skill"'
          properties:
            instructions: .__includedFiles["SKILL.md"]
            description: .folder.path | split("/") | last

  - kind: file
    selector:
      query: 'true'
      files:
        - path: .github/prompts/*.prompt.yaml
          skipParsing: false
          organization: my-org  # Optional if githubOrganization is set (required if not set)
          repos:
            - name: my-repo
              branch: main
    port:
      entity:
        mappings:
          identifier: .__repository.name + "/" + .name
          title: .name | split(".") | .[0]
          blueprint: '"prompt"'
          properties:
            description: .content.description
            arguments: .content.arguments
            template: .content.message
          relations:
            repository: .__repository
GitHub (Ocean) uses files with organization and repos structure to scope which repositories are scanned. Use .content instead of .file.content for file content. For folders, use includedFiles and .__includedFiles["filename"] instead of the file:// prefix. Use .__repository or .repository for the repository relation.
GitHub integration mapping configuration (click to expand)
deleteDependentEntities: false
createMissingRelatedEntities: true
enableMergeEntity: true
resources:
  - kind: repository
    selector:
      query: 'true'
      teams: true
    port:
      entity:
        mappings:
          identifier: .full_name
          title: .name
          blueprint: '"githubRepo"'
          properties:
            readme: file://README.md
            url: .html_url
            defaultBranch: .default_branch
          relations:
            githubTeams: '[.teams[].id | tostring]'

  - kind: folder
    selector:
      query: 'true'
      folders:
        - path: '**/skills/*'
    port:
      entity:
        mappings:
          identifier: .repo.name + "-" + .folder.name
          title: .repo.name + "-" + .folder.name
          blueprint: '"skill"'
          properties:
            instructions: file://SKILL.md
            description: .folder.name

  - kind: file
    selector:
      query: 'true'
      files:
        - path: .github/prompts/*.prompt.yaml
          skipParsing: false
    port:
      entity:
        mappings:
          identifier: .repo.name + "/" + .file.name
          title: .file.name | split(".") | .[0]
          blueprint: '"prompt"'
          properties:
            description: .file.content.description
            arguments: .file.content.arguments
            template: .file.content.message
- Click Save to update the integration configuration.
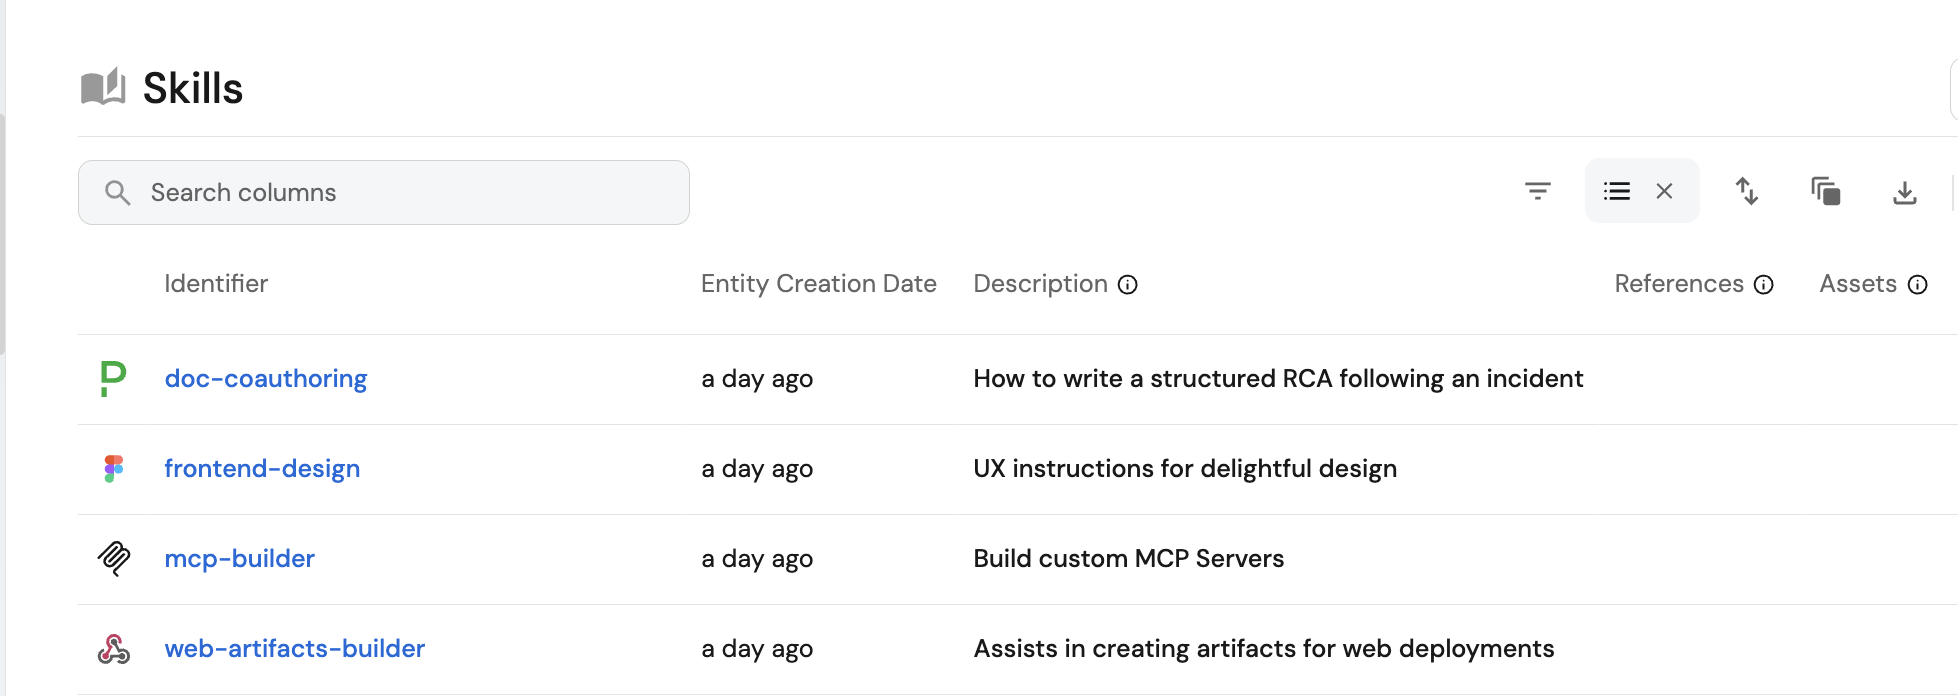
Test the configuration
Now you can validate the full workflow and confirm that changes in GitHub appear in the Port catalog.
- Update a
.prompt.yamlorSKILL.mdfile in your repository and merge the change. - Go to your software catalog page.
- Find the corresponding
PromptorSkillentity and confirm the content is updated.