Summarize Zendesk tickets using workflows
Port workflows are currently in open beta and available to all users. Workflows may undergo changes without prior notice.
When working on support, you often need quick, structured summaries of a ticket for internal handoffs or customer updates. In this guide, we will build a Port workflow that fetches a Zendesk ticket's context and uses Port AI to generate a structured summary, all in one self-service run.
If you would rather run summaries from your IDE assistant using the MCP protocol, see the Summarize Zendesk tickets with AI guide, which uses self-service actions and a reusable prompt instead of a workflow.
Common use cases
- Generate a concise, standardized ticket summary for internal handoffs.
- Produce a customer-facing summary capturing request, resolution, and root cause.
- Create quick recaps for weekly reviews or QA of support interactions.
Scenario
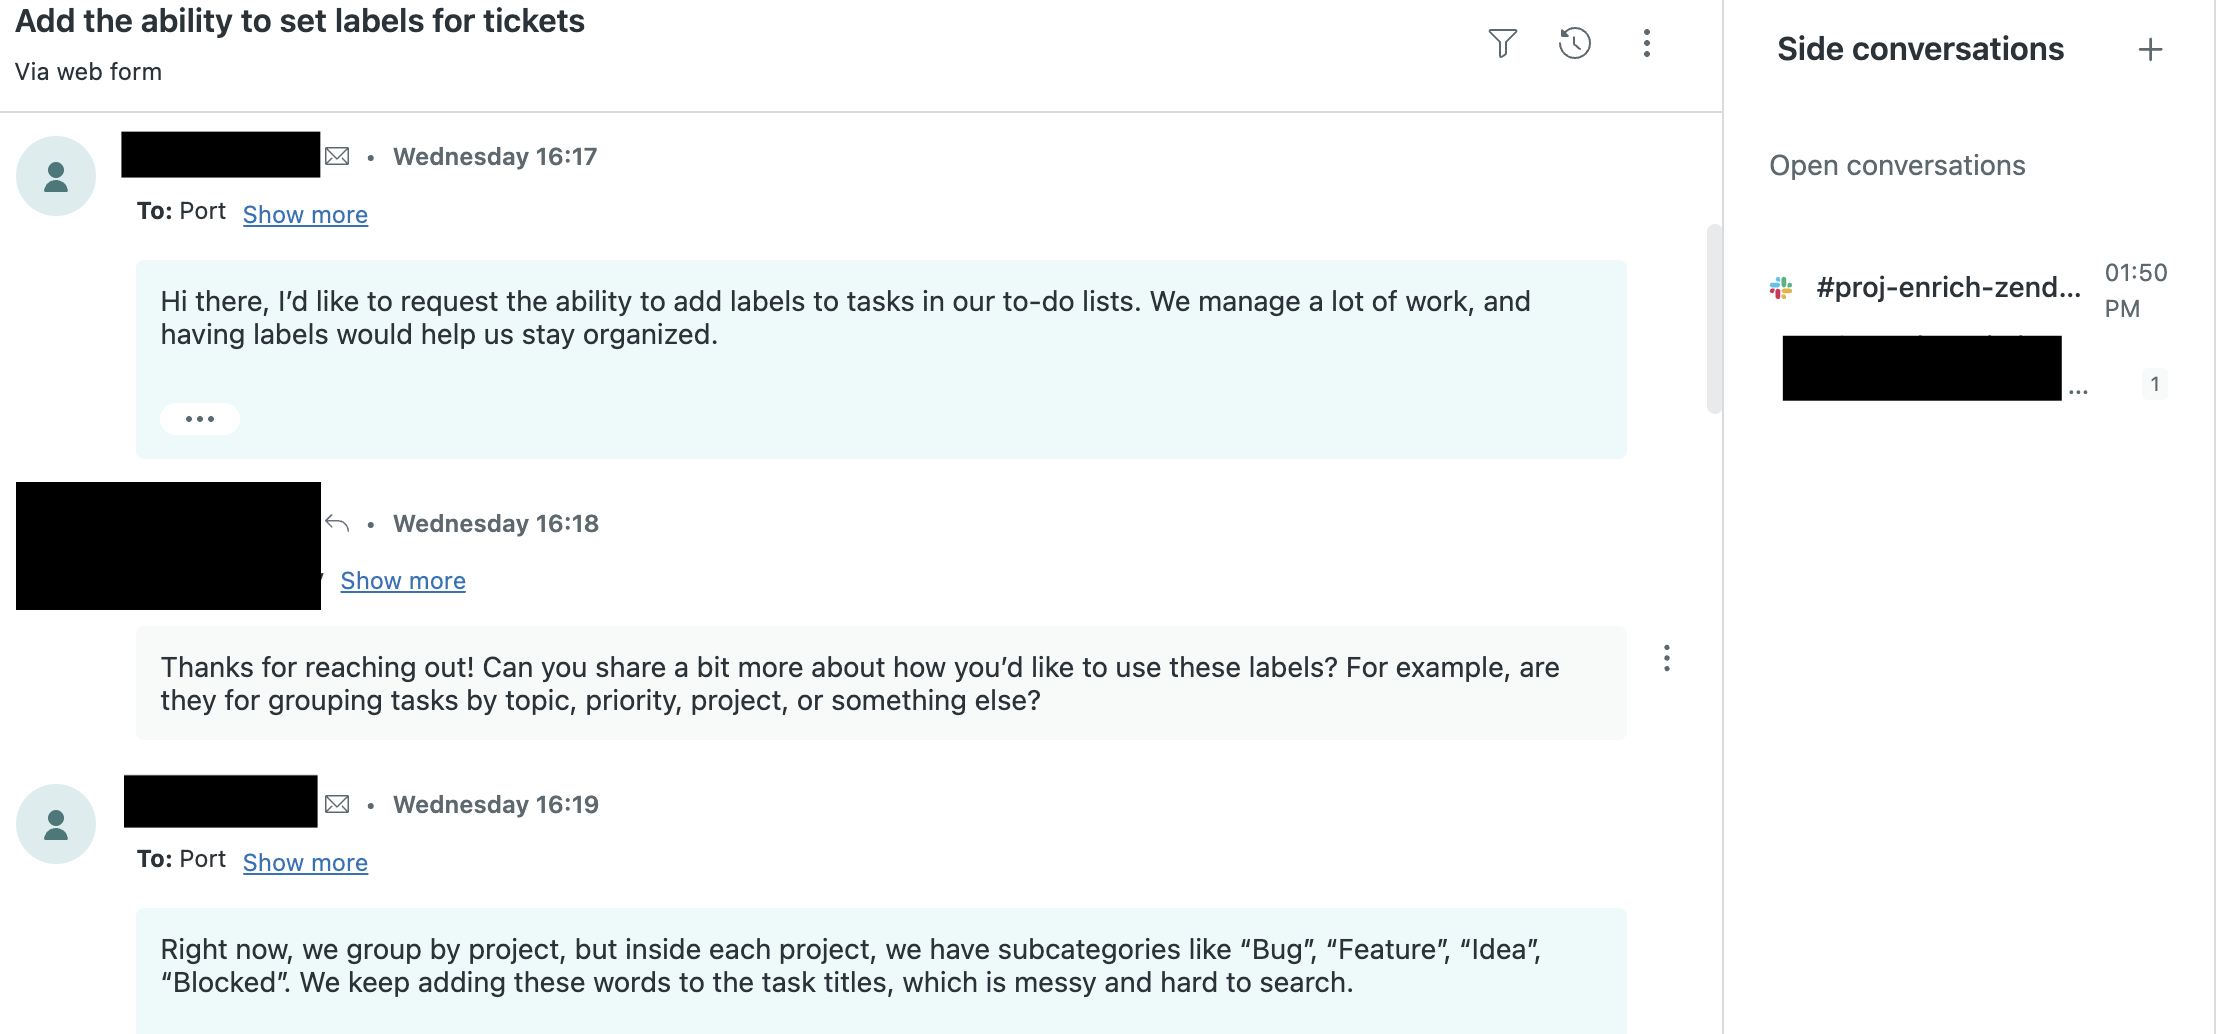
You are the on-call support engineer. A customer requests the ability to set labels for tickets on Zendesk ticket 4095. Before hand-off, you need a concise internal summary that captures the request, the resolution, and any follow-ups.
Zendesk tickets consist of two main sources of context:
- Comments - the primary conversation between the requester and agents (public or internal).
- Side conversations - separate threaded discussions (email, Slack, etc.) opened from the ticket for additional stakeholders.
Flow overview
The workflow runs four nodes in sequence:
- A self-service trigger where you select the
zendesk_ticketentity to summarize. - A webhook that fetches the ticket's comments from Zendesk.
- A webhook that fetches the ticket's side conversations from Zendesk.
- A Port AI node that summarizes the gathered context and returns a structured summary on the run page.
Prerequisites
- Completion of the onboarding process.
- A custom integration that ingests Zendesk tickets into your catalog using Port webhooks, so that a
zendesk_ticketblueprint and its entities exist.
Add secrets
The workflow authenticates to Zendesk using a secret that stores your API token, enabling it to retrieve ticket comments and side-conversation data. You can generate an API token by following Zendesk's instructions here.
To add the secret to your portal:
-
In your Port application, click on your profile picture
 .
. -
Click on Credentials.
-
Click on the
Secretstab. -
Click on
+ Secretand add the following secret:ZENDESK_TOKEN- Your Zendesk API token generated according to the guide above.
Build the workflow
We will build the workflow directly in the editor. Follow the steps below:
-
Go to the Workflows page of your portal.
-
Click on the
+ Workflowbutton in the top-right corner. -
Click on the
Skip to editorbutton. -
Copy and paste the workflow JSON below into the editor to replace the example workflow:
Summarize Zendesk ticket workflow JSON (click to expand)
{"identifier": "summarize_zendesk_ticket","title": "Summarize Zendesk ticket with AI","icon": "Zendesk","description": "Fetch a Zendesk ticket's context and summarize it with Port AI","allowAnyoneToViewRuns": true,"nodes": [{"identifier": "trigger","title": "Select ticket","icon": "Zendesk","description": "Choose the Zendesk ticket to summarize","config": {"type": "SELF_SERVE_TRIGGER","userInputs": {"properties": {"ticket": {"title": "Zendesk ticket","description": "Select the Zendesk ticket to summarize","type": "string","format": "entity","blueprint": "zendesk_ticket"}},"required": ["ticket"]},"published": true},"variables": {}},{"identifier": "fetch_comments","title": "Fetch ticket comments","icon": "Zendesk","description": "Retrieve all comments for the selected ticket","config": {"type": "WEBHOOK","url": "https://<your_subdomain>.zendesk.com/api/v2/tickets/{{ .outputs.trigger.ticket }}/comments","agent": false,"synchronized": true,"method": "GET","headers": {"Content-Type": "application/json","Authorization": "Basic {{ .secrets[\"ZENDESK_TOKEN\"] }}"}},"variables": {}},{"identifier": "fetch_side_conversations","title": "Fetch side conversations","icon": "Zendesk","description": "Retrieve the ticket's side conversations","config": {"type": "WEBHOOK","url": "https://<your_subdomain>.zendesk.com/api/v2/tickets/{{ .outputs.trigger.ticket }}/side_conversations","agent": false,"synchronized": true,"method": "GET","headers": {"Content-Type": "application/json","Authorization": "Basic {{ .secrets[\"ZENDESK_TOKEN\"] }}"}},"variables": {}},{"identifier": "summarize","title": "Summarize with AI","icon": "AI","description": "Summarize the ticket context with Port AI","config": {"type": "AI","systemPrompt": "You are an AI assistant that summarizes Zendesk support tickets in Port. Use only the comments and side conversations provided in the prompt. Do not call any tools. Return the summary in this exact format:\n\n## Request\nWhat the customer wanted, in a short sentence.\n\n## Resolution\nWhat was the resolution.\n\n## Root Cause\nFor a problem or bug, what was the root cause.\n\n## Recommendations\nSuggested follow-ups, such as updating docs or improving error messages.","userPrompt": "Summarize Zendesk ticket {{ .outputs.trigger.ticket }}.\n\nComments:\n{{ .outputs.fetch_comments.response.data }}\n\nSide conversations:\n{{ .outputs.fetch_side_conversations.response.data }}"},"variables": {}}],"connections": [{"sourceIdentifier": "trigger","targetIdentifier": "fetch_comments"},{"sourceIdentifier": "fetch_comments","targetIdentifier": "fetch_side_conversations"},{"sourceIdentifier": "fetch_side_conversations","targetIdentifier": "summarize"}]} -
Click
Saveto save the workflow.
Configure the workflow
After publishing, replace the placeholder values in the workflow nodes:
- In both the
fetch_commentsandfetch_side_conversationsnodes, replace<your_subdomain>in theurlwith your Zendesk subdomain, for examplehttps://acme.zendesk.com/....
The AI node summarizes only the comments and side conversations passed in its prompt, so no additional tools or connectors are required. To let the AI fetch deeper data on demand (for example, the messages inside each side conversation), add a Zendesk MCP connector to the node's mcpServers.
Test the workflow
- In Port, make sure there is a
zendesk_ticketentity whoseidentifiermatches a real Zendesk ticket ID you want to summarize. - Go to the Self-service page of your portal.
- Find Summarize Zendesk ticket with AI and click on it.
- Select the
zendesk_ticketentity and click Execute. - Open the run from the Workflow runs tab and review the structured summary produced by the
summarizenode.
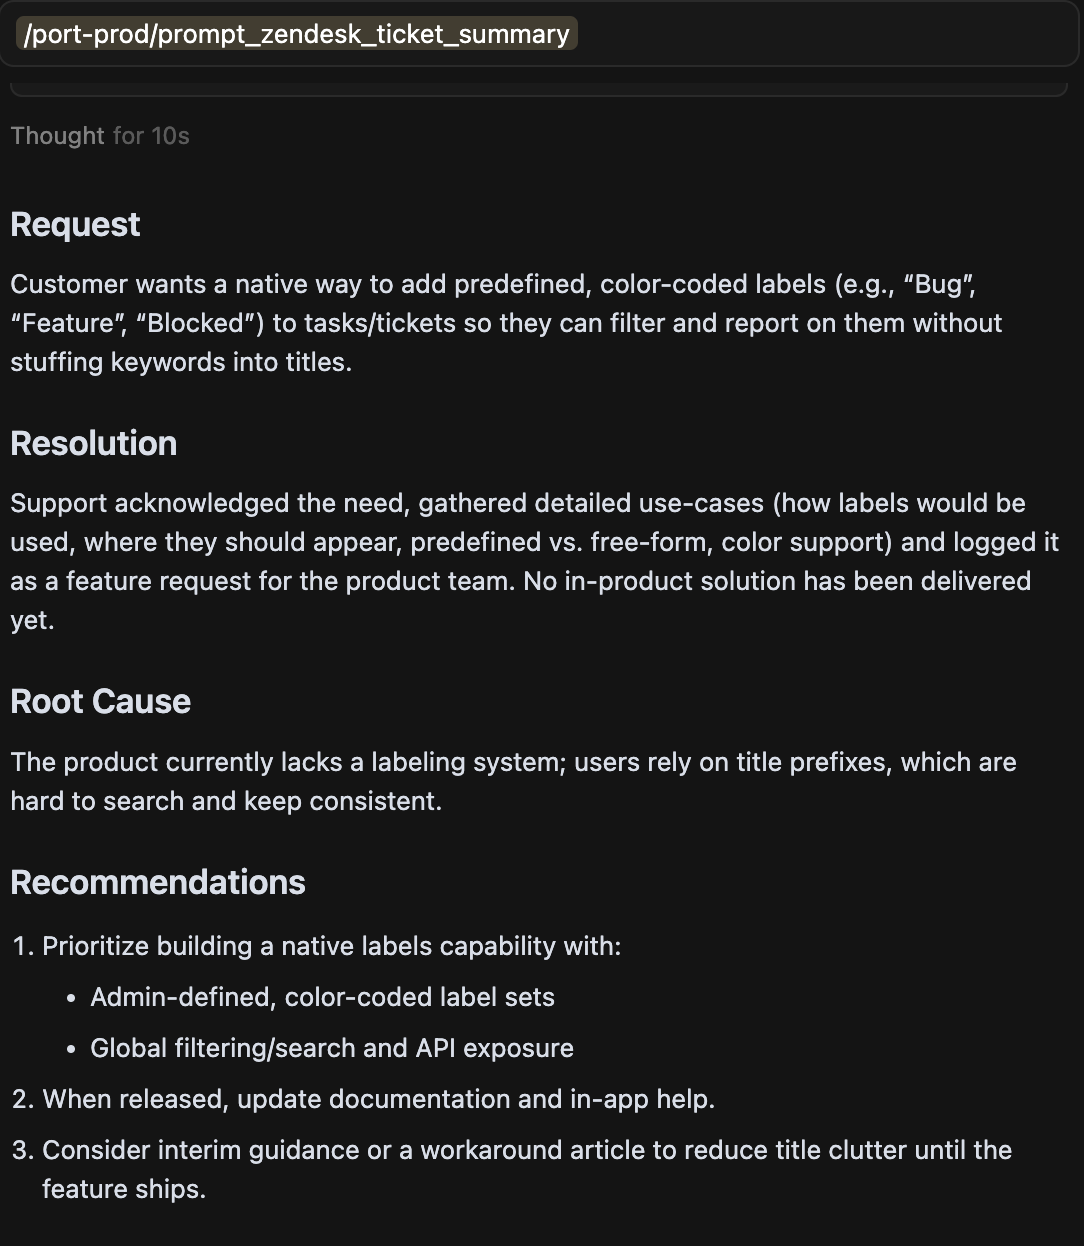
Summaries can include sensitive customer or internal details, so treat them as internal documents.
Best practices
- Adjust the AI node's
systemPromptto how you would ideally want to receive a ticket summary, whether that is a short bullet list or a detailed customer-facing recap. - Reduce token usage by defining variables on the fetch nodes to extract only the fields you need (for example
{{ .result.response.data.comments }}) before passing them to the AI node. - Return machine-readable output by adding an
outputSchemato the AI node, then persist it onto the ticket with an upsert entity node. - Use consistent formatting so summaries are scannable across tickets.