Connect GitHub PR to SonarQube analysis
Overview
This guide aims to cover how to connect a GitHub pull request with a SonarQube analysis to understand the scan results of your PR.
This guide includes steps that require integration with GitHub:
- GitHub (Ocean) - uses the Ocean framework. We strongly recommend this integration for new and migrated setups.
- GitHub (Sunset) - uses a GitHub app that is in sunset and will be fully deprecated on September 15, 2026.
Prerequisites
- This guide assumes you have a Port account and that you have finished the onboarding process.
- Install Port's SonarQube integration
- GitHub (Ocean)
- GitHub (Sunset)
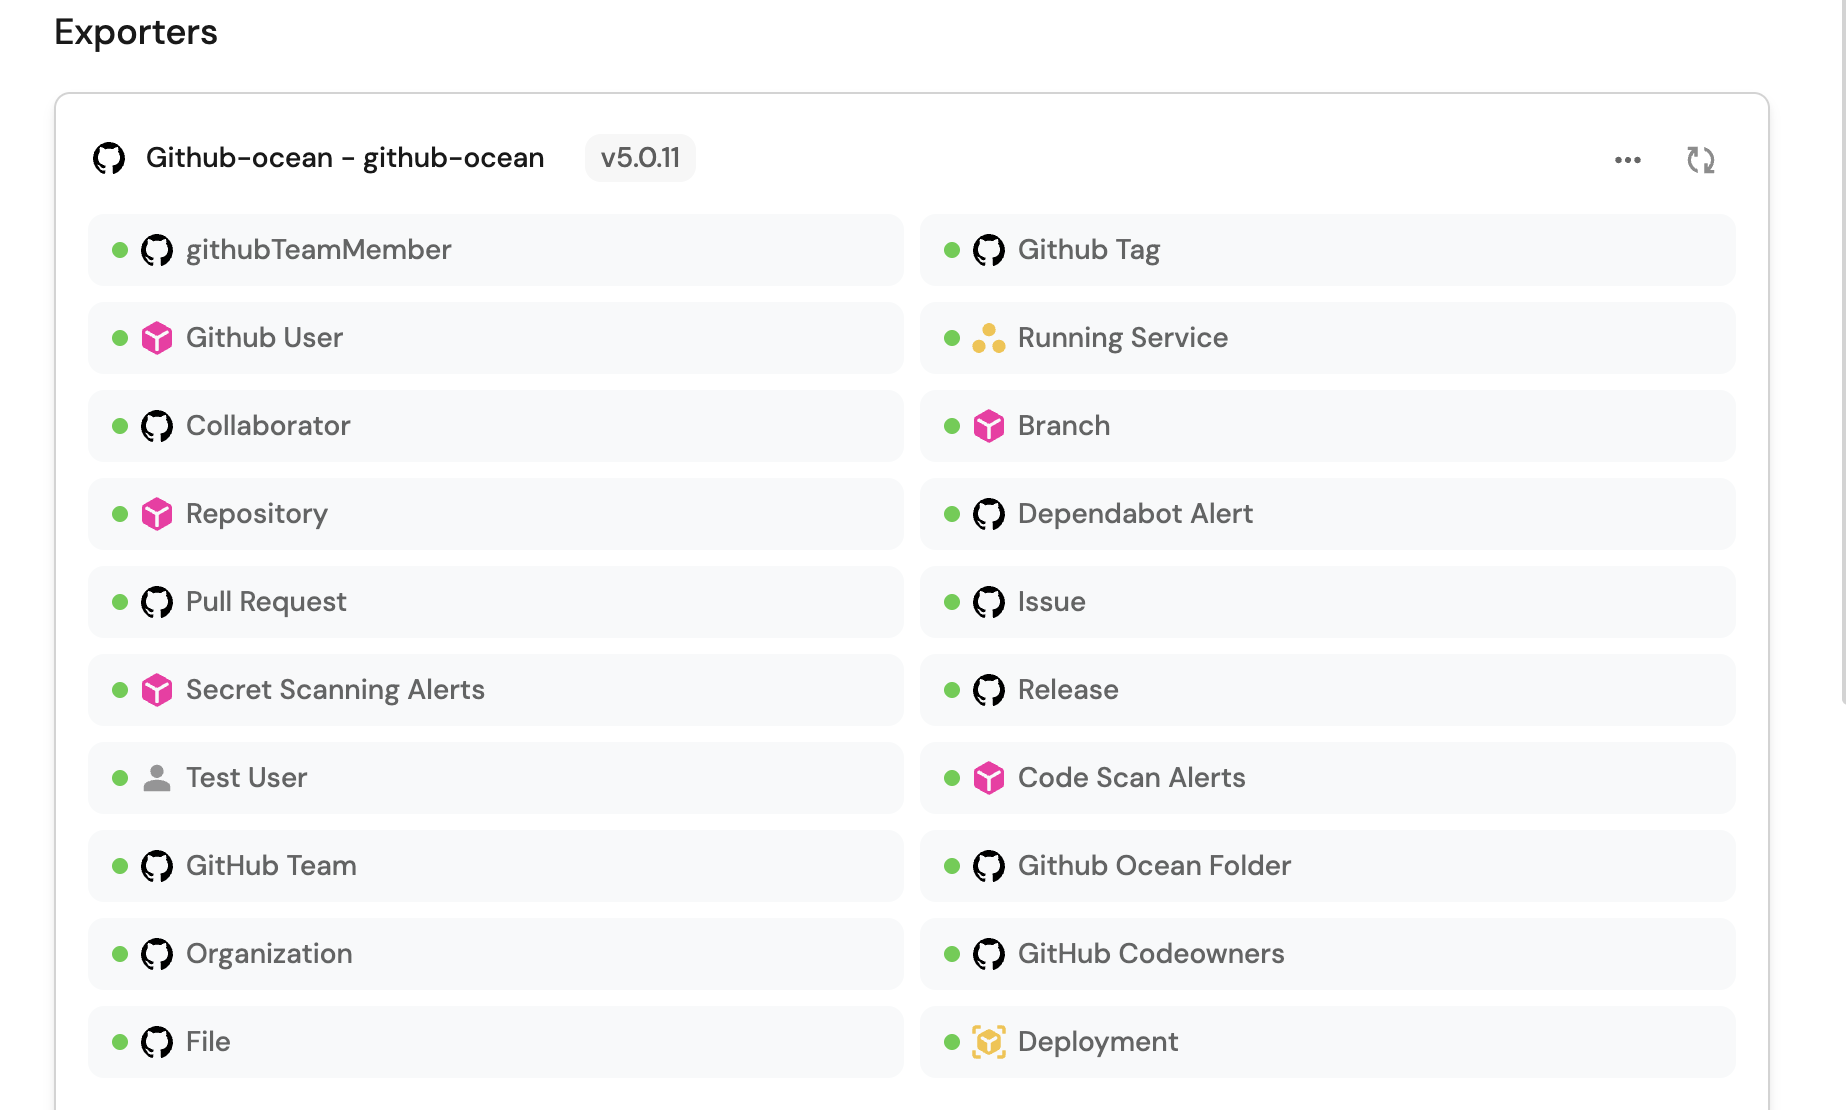
- Install GitHub ocean.
- Install Port's GitHub app
Set up data model
- GitHub (Ocean)
- GitHub (Sunset)
We highly recommend you install both GitHub ocean and SonarQube integration to have pull requests and analyses automatically ingested into Port in real-time. However, if you haven't installed GitHub ocean and SonarQube integration, you'll need to create blueprints for GitHub pull requests and SonarQube analyses in Port. Skip this section if you have already installed GitHub ocean and SonarQube integration.
Add the pull request blueprint
-
Go to your Builder page.
-
Click on
+ Blueprint. -
Click on the
{...}button in the top right corner, and choose "Edit JSON". -
Add this JSON schema:
GitHub Pull Request Blueprint (Click to expand)
{"identifier": "githubPullRequest","title": "Pull Request","icon": "Github","schema": {"properties": {"creator": {"title": "Creator","type": "string"},"assignees": {"title": "Assignees","type": "array"},"reviewers": {"title": "Reviewers","type": "array"},"status": {"title": "Status","type": "string","enum": ["merged","open","closed"],"enumColors": {"merged": "purple","open": "green","closed": "red"}},"closedAt": {"title": "Closed At","type": "string","format": "date-time"},"updatedAt": {"title": "Updated At","type": "string","format": "date-time"},"mergedAt": {"title": "Merged At","type": "string","format": "date-time"},"link": {"type": "string","format": "url"}},"required": []},"mirrorProperties": {},"calculationProperties": {},"aggregationProperties": {},"relations": {}} -
Click
Saveto create the blueprint.
Add pull request mapping config
-
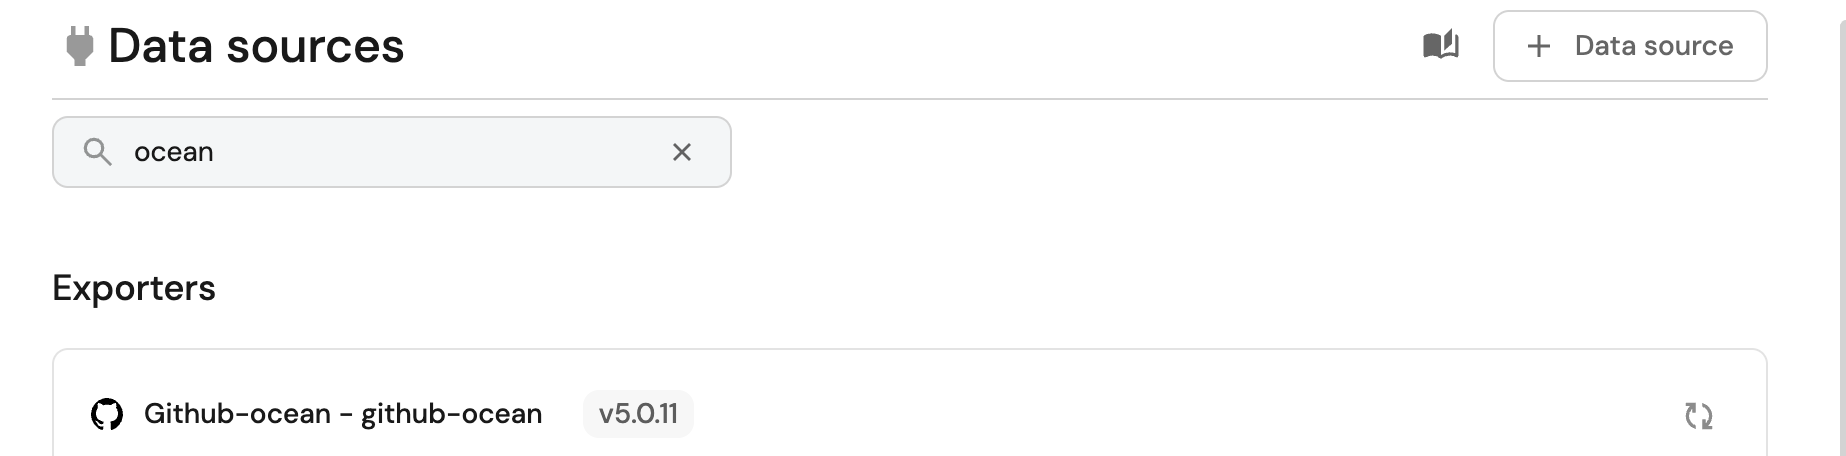
Go to your data sources page, and click on your GitHub ocean integration.
-
Add the following YAML block into the editor to map the pull request data:
Relation mapping (Click to expand)
resources:- kind: pull-requestselector:query: "true"port:entity:mappings:identifier: .head.repo.name + '-' + (.number|tostring)title: .titleblueprint: '"githubPullRequest"'properties:creator: .user.loginassignees: "[.assignees[].login]"reviewers: "[.requested_reviewers[].login]"status: .stateclosedAt: .closed_atupdatedAt: .updated_atmergedAt: .merged_atprNumber: .numberlink: .html_url -
Click
Save & Resyncto apply the mapping.
We highly recommend you install both the GitHub app and SonarQube integration to have pull requests and analyses automatically ingested into Port in real-time. However, if you haven't installed Port's GitHub app and SonarQube integration, you'll need to create blueprints for GitHub pull requests and SonarQube analyses in Port. Skip this section if you have already installed the GitHub app and SonarQube integration.
Add the pull request blueprint
-
Go to your Builder page.
-
Click on
+ Blueprint. -
Click on the
{...}button in the top right corner, and choose "Edit JSON". -
Add this JSON schema:
GitHub Pull Request Blueprint (Click to expand)
{"identifier": "githubPullRequest","title": "Pull Request","icon": "Github","schema": {"properties": {"creator": {"title": "Creator","type": "string"},"assignees": {"title": "Assignees","type": "array"},"reviewers": {"title": "Reviewers","type": "array"},"status": {"title": "Status","type": "string","enum": ["merged","open","closed"],"enumColors": {"merged": "purple","open": "green","closed": "red"}},"closedAt": {"title": "Closed At","type": "string","format": "date-time"},"updatedAt": {"title": "Updated At","type": "string","format": "date-time"},"mergedAt": {"title": "Merged At","type": "string","format": "date-time"},"link": {"type": "string","format": "url"}},"required": []},"mirrorProperties": {},"calculationProperties": {},"aggregationProperties": {},"relations": {}} -
Click
Saveto create the blueprint.
Add pull request mapping config
-
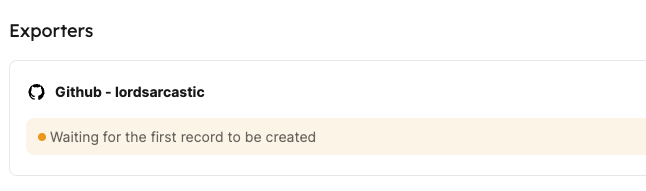
Go to your data sources page, and select the Github data source:
-
Add the following YAML block into the editor to map the pull request data:
Relation mapping (Click to expand)
resources:- kind: pull-requestselector:query: "true"port:entity:mappings:identifier: ".head.repo.name + '-' + (.number|tostring)" # The Entity identifier will be the repository name + the pull request numbertitle: ".title"blueprint: '"githubPullRequest"'properties:creator: ".user.login"assignees: "[.assignees[].login]"reviewers: "[.requested_reviewers[].login]"status: ".status"closedAt: ".closed_at"updatedAt: ".updated_at"mergedAt: ".merged_at"prNumber: ".id"link: ".html_url" -
Click
Save & Resyncto apply the mapping.
Add the SonarQube analysis blueprint
-
Go to your Builder page.
-
Click on
+ Blueprint. -
Click on the
{...}button in the top right corner, and choose "Edit JSON". -
Add this JSON schema:
SonarQube Analysis Blueprint (Click to expand)
{"identifier": "sonarQubeAnalysis","title": "SonarQube Analysis","icon": "sonarqube","schema": {"properties": {"branch": {"title": "Branch","type": "string","description": "The branch analyzed"},"fixedIssues": {"title": "Fixed Issues","type": "number","description": "Number of issues fixed in this analysis"},"newIssues": {"title": "New Issues","type": "number","description": "Number of new issues found in this analysis"},"coverage": {"title": "Coverage","type": "number","description": "Code coverage percentage"},"duplications": {"title": "Duplications","type": "number","description": "Number of code duplications"},"createdAt": {"title": "Created At","type": "string","format": "date-time","description": "When the analysis was created"}}},"calculationProperties": {},"mirrorProperties": {},"aggregationProperties": {},"relations": {}} -
Click
Saveto create the blueprint.
Add SonarQube mapping config
-
Go to your data sources page, and click on your SonarQube integration.
-
Under the
resourceskey, add the following YAML block to map SonarQube analyses:SonarQube Analysis mapping (Click to expand)
- kind: analysisselector:query: "true"port:entity:mappings:identifier: .analysisIdtitle: .__commit.messageblueprint: '"sonarQubeAnalysis"'properties:branch: .branch.namefixedIssues: .measures.violations_fixednewIssues: .measures.violations_addedcoverage: .measures.coverage_changeduplications: .measures.duplicated_lines_density_changecreatedAt: .branch.analysisDate -
Click
Save & Resyncto apply the mapping.
Great! Now that the mapping is configured, you will need to manually ingest your SonarQube analyses data into Port.
Relate pull requests to SonarQube analyses
Now that Port is synced with our SonarQube resources, let's map the SonarQube analyses to the Github pull requests.
First, we will need to create a relation between our githubPullRequest and the corresponding sonarQubeAnalysis.
-
Head back to the Builder, choose the
Pull Requestblueprint, and click onNew relation: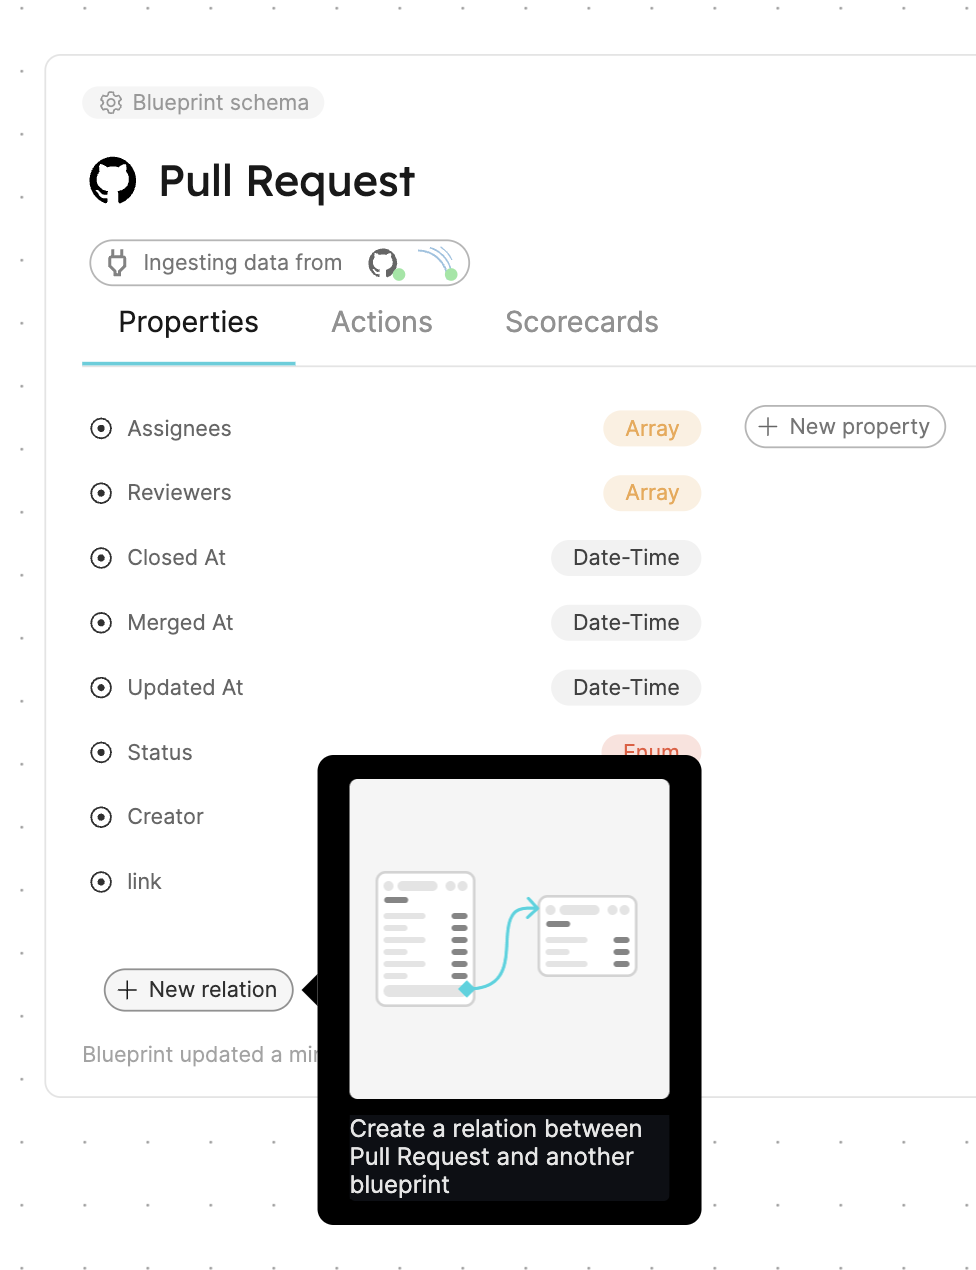
-
Fill out the form like this, then click
Create: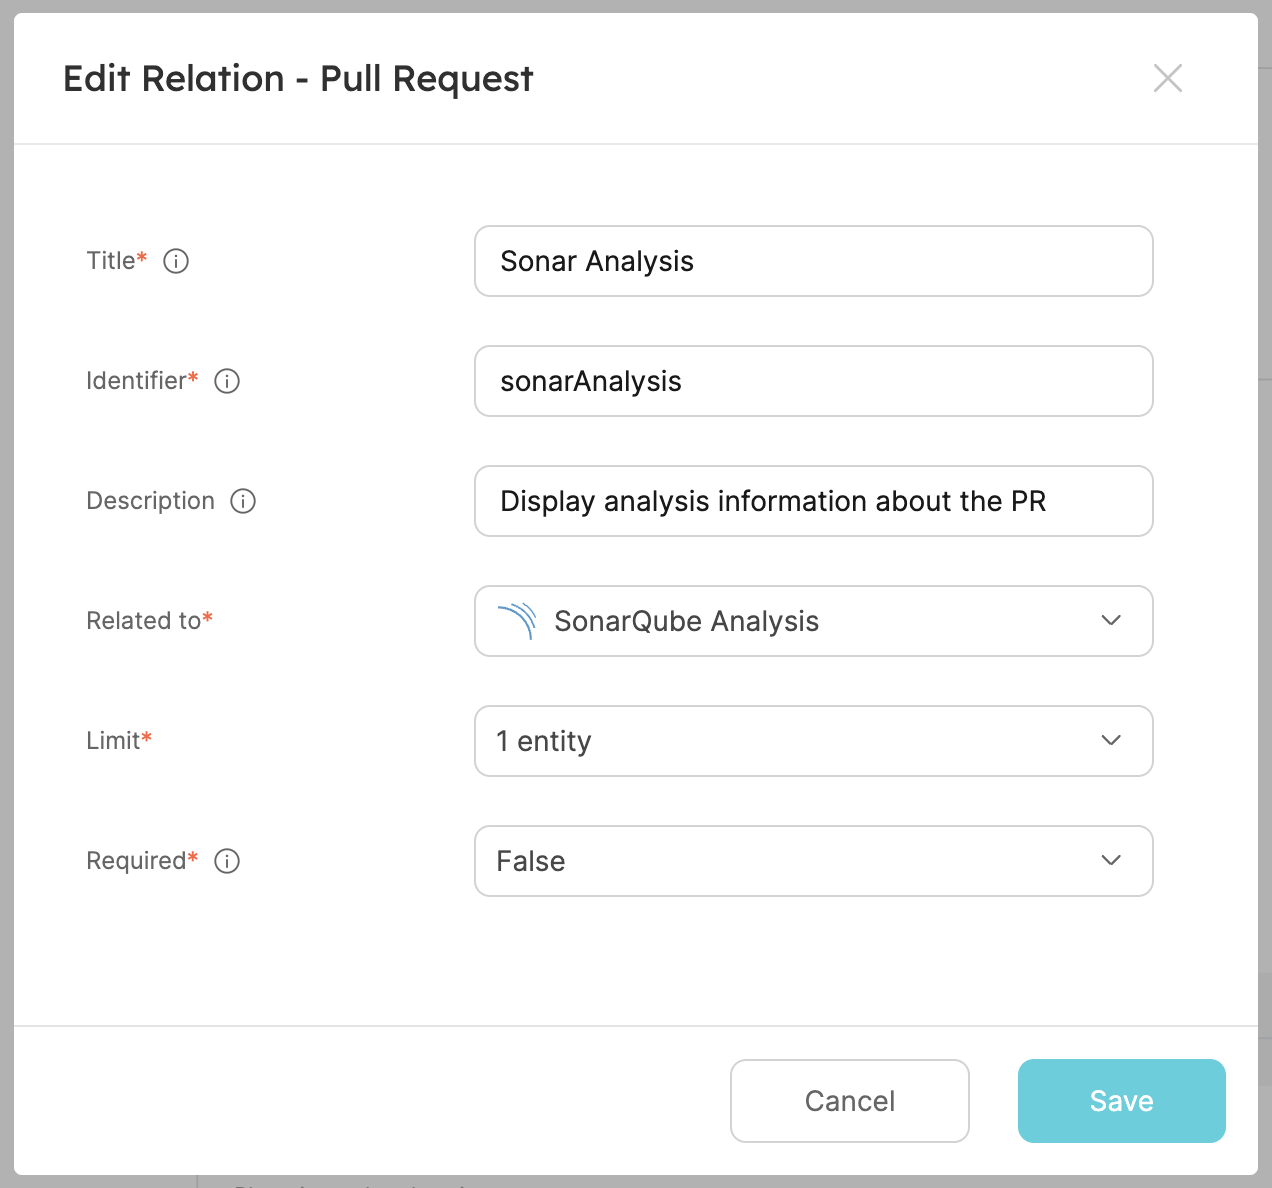
Now that the blueprints are related, we need to assign the relevant SonarQube analysis to each of our pull requests.
This can be done by adding some mapping logic using a search query, which allow us to match PRs with SonarQube analyses based on the knowledge of the value of one of the entity's properties.
The following steps demonstrate how to match PRs with SonarQube analyses using search queries.
- Match by Title & Branch
- Match by Commit SHA
- Go to your data sources page
- Click on your GitHub integration.
- GitHub (Ocean)
- GitHub (Sunset)
-
Under the
resourceskey, locate the Pull Request block -
Replace it with the following YAML block to map the pull request entities with SonarQube analyses:
Relation mapping (click to expand)
resources:- kind: pull-requestselector:query: "true"port:entity:mappings:identifier: .head.repo.name + '-' + (.number|tostring)title: .titleblueprint: '"githubPullRequest"'properties:creator: .user.loginassignees: "[.assignees[].login]"reviewers: "[.requested_reviewers[].login]"status: .stateclosedAt: .closed_atupdatedAt: .updated_atmergedAt: .merged_atprNumber: .numberlink: .html_urlrelations:sonarAnalysis:combinator: '"and"'rules:- property: '"$title"'operator: '"="'value: .title- property: '"branch"'operator: '"="'value: .head.ref -
Click
Save & Resyncto apply the changes

-
Under the
resourceskey, locate the Pull Request block -
Replace it with the following YAML block to map the pull request entities with SonarQube analyses:
Relation mapping (click to expand)
resources:- kind: pull-requestselector:query: "true"port:entity:mappings:identifier: .head.repo.name + '-' + (.number|tostring)title: .titleblueprint: '"githubPullRequest"'properties:creator: .user.loginassignees: "[.assignees[].login]"reviewers: "[.requested_reviewers[].login]"status: .statusclosedAt: .closed_atupdatedAt: .updated_atmergedAt: .merged_atprNumber: .idlink: .html_urlrelations:sonarAnalysis:combinator: '"and"'rules:- property: '"$title"'operator: '"="'value: .title- property: '"branch"'operator: '"="'value: .head.ref -
Click
Save & Resyncto apply the changes
This configuration uses the title and branch properties to establish a relationship with SonarQube analysis based on matching properties. The title property is common to both GitHub pull requests and SonarQube analyses, making it a reliable identifier for matching related entities. The branch property gives information about the source and destination of the code changes.
- Go to your data sources page
- Click on your GitHub integration.
- GitHub (Ocean)
- GitHub (Sunset)
-
Under the
resourceskey, locate the Pull Request block -
Replace it with the following YAML block to map the pull request entities with SonarQube analyses using commit SHA:
Search query mapping (click to expand)
resources:- kind: pull-requestselector:query: "true"port:entity:mappings:identifier: .head.repo.name + '-' + (.number|tostring)title: .titleblueprint: '"githubPullRequest"'properties:creator: .user.loginassignees: "[.assignees[].login]"reviewers: "[.requested_reviewers[].login]"status: .stateclosedAt: .closed_atupdatedAt: .updated_atmergedAt: .merged_atprNumber: .numberlink: .html_urlrelations:sonarAnalysis:combinator: '"and"'rules:- property: '"commitSha"'operator: '"="'value: .head.sha -
Click
Save & Resyncto apply the changes
-
Under the
resourceskey, locate the Pull Request block -
Replace it with the following YAML block to map the pull request entities with SonarQube analyses using commit SHA:
Search query mapping (click to expand)
resources:- kind: pull-requestselector:query: "true"port:entity:mappings:identifier: .head.repo.name + '-' + (.number|tostring)title: .titleblueprint: '"githubPullRequest"'properties:creator: .user.loginassignees: "[.assignees[].login]"reviewers: "[.requested_reviewers[].login]"status: .statusclosedAt: .closed_atupdatedAt: .updated_atmergedAt: .merged_atprNumber: .idlink: .html_urlrelations:sonarAnalysis:combinator: '"and"'rules:- property: '"commitSha"'operator: '"="'value: .head.sha -
Click
Save & Resyncto apply the changes
This configuration uses the commitSha property to establish a relationship with SonarQube analysis. This is a reliable way to match PRs with their corresponding SonarQube analyses since each commit has a unique SHA.
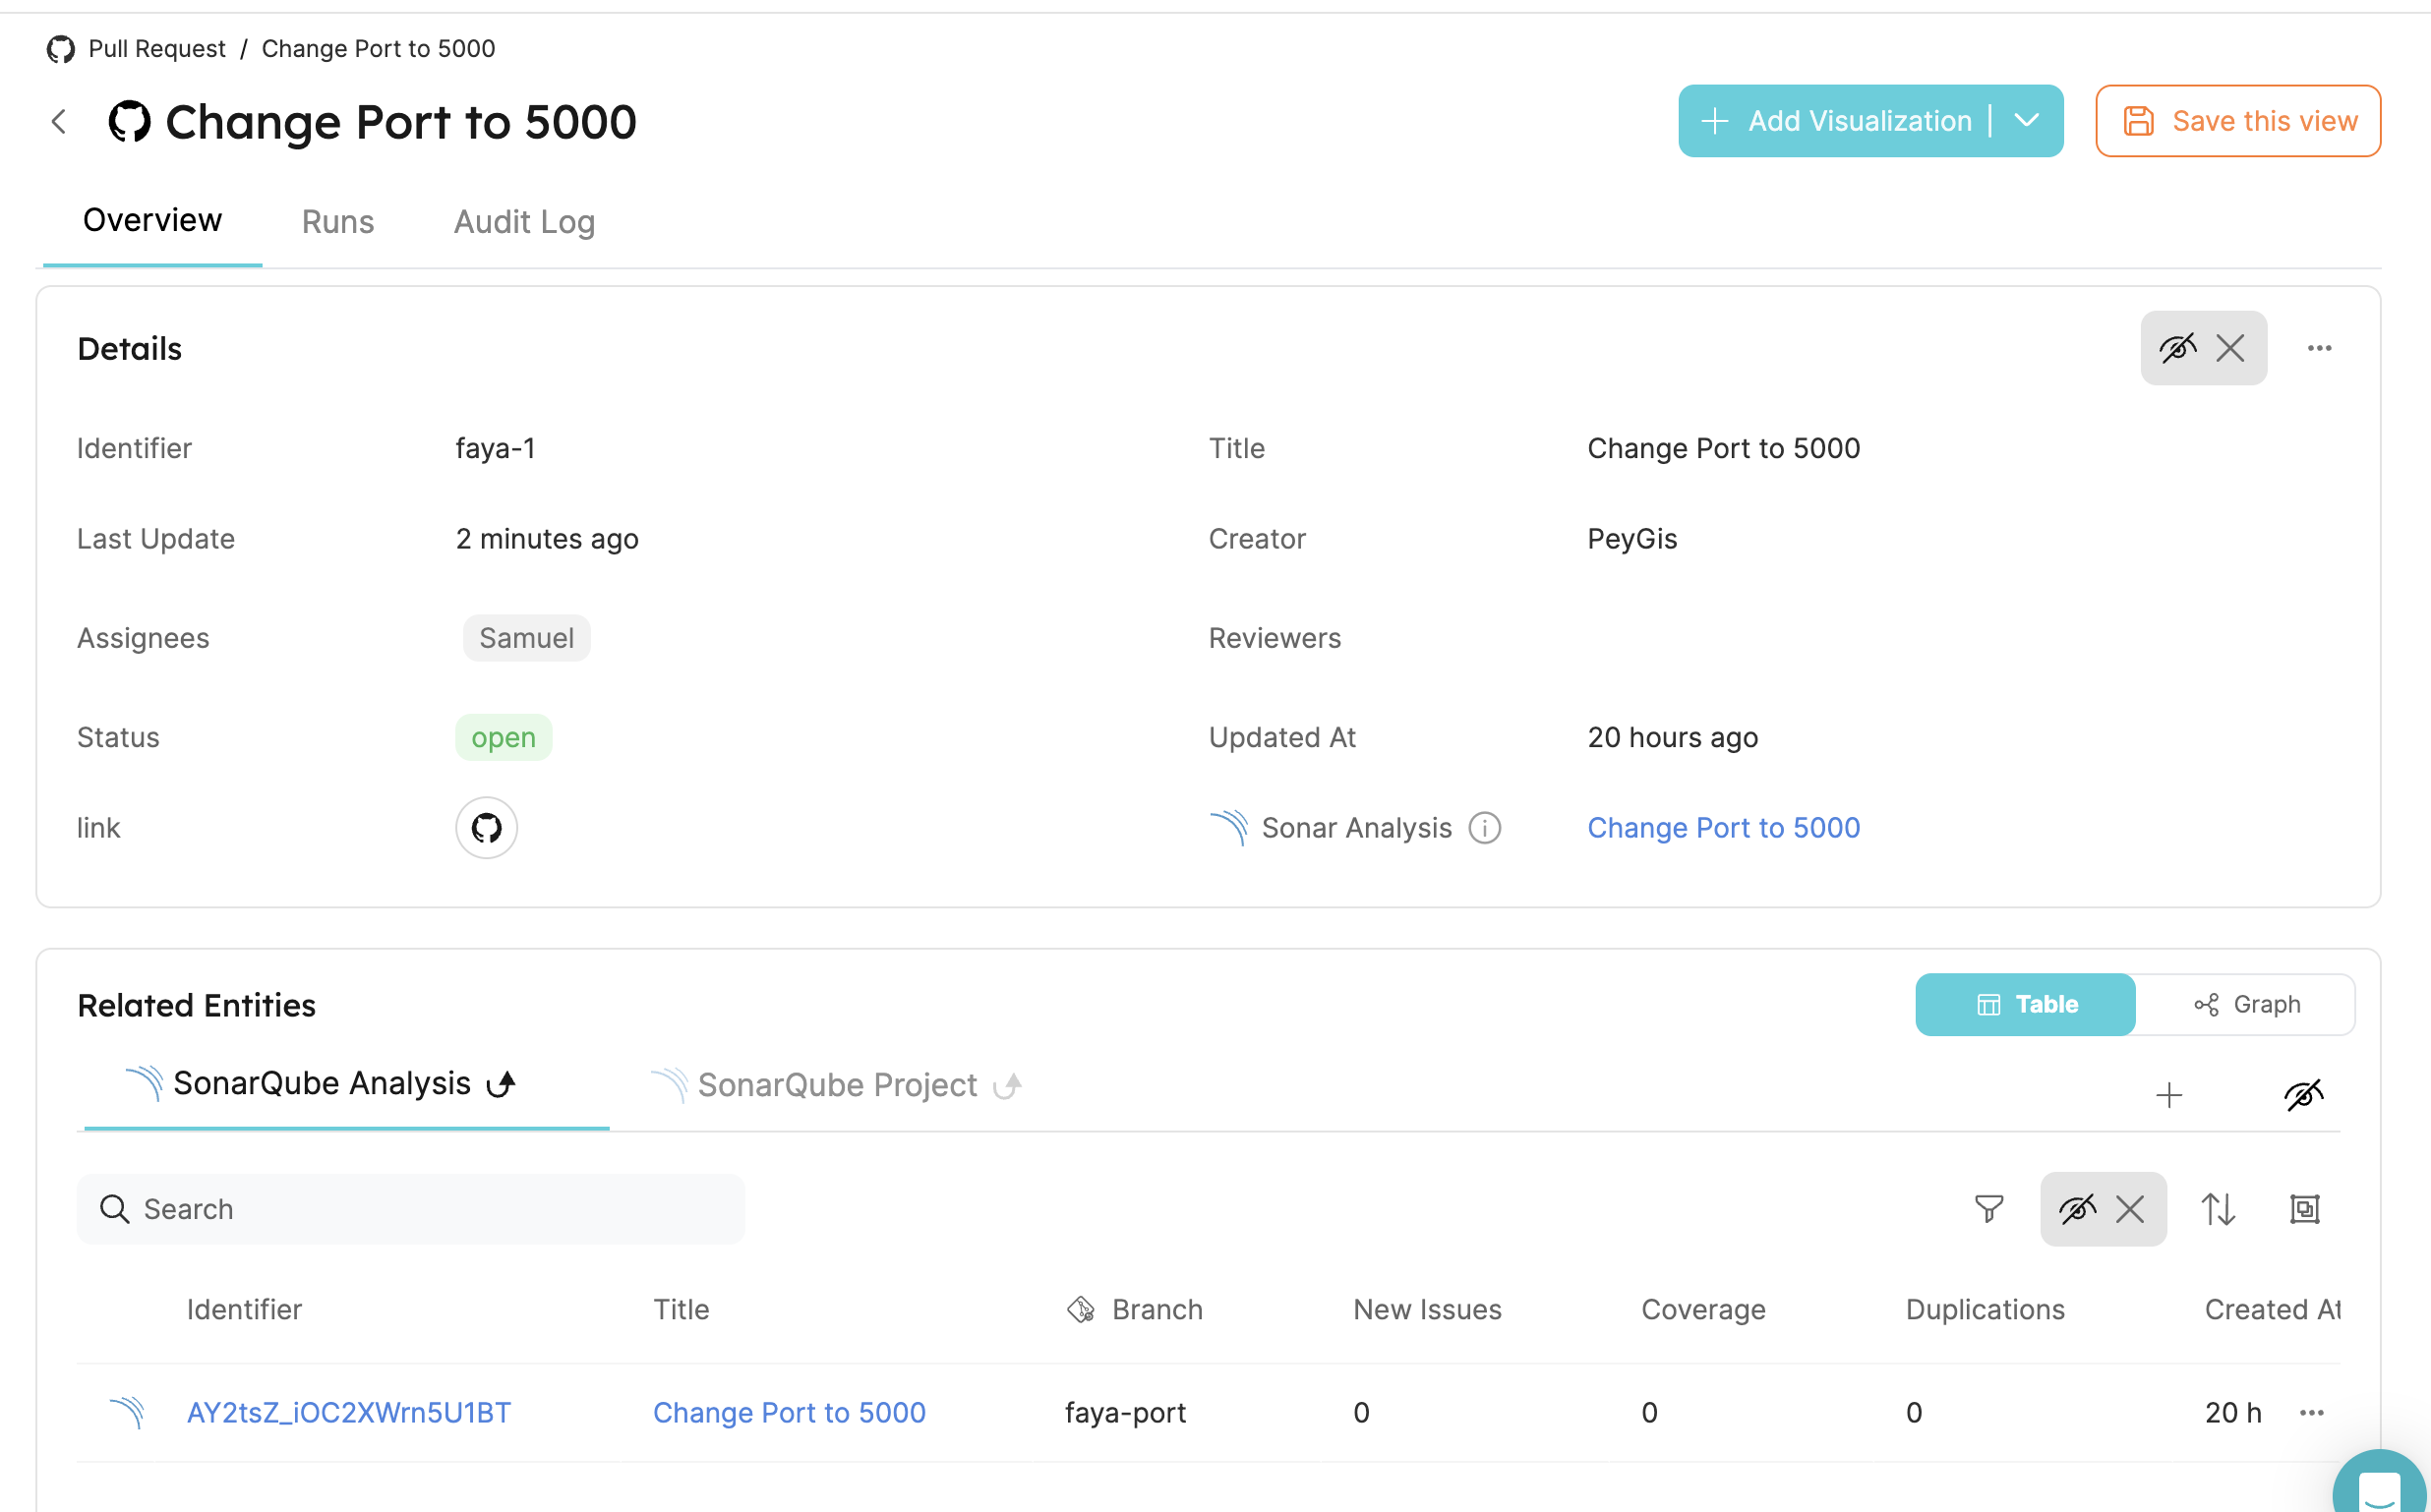
After applying the mapping configuration above, you will see the pull request entities in your software catalog with their related SonarQube analyses.
Configure mirror properties on pull request
When looking at a Pull Request, some of its sonarAnalysis properties may be especially important to us, and we would like to see them directly in the Pull Request's context. This can be achieved using mirror properties, so let's create some:
-
The first one will be the number of new issues added to the analysis. Under the relation we just created, click on
New mirror property: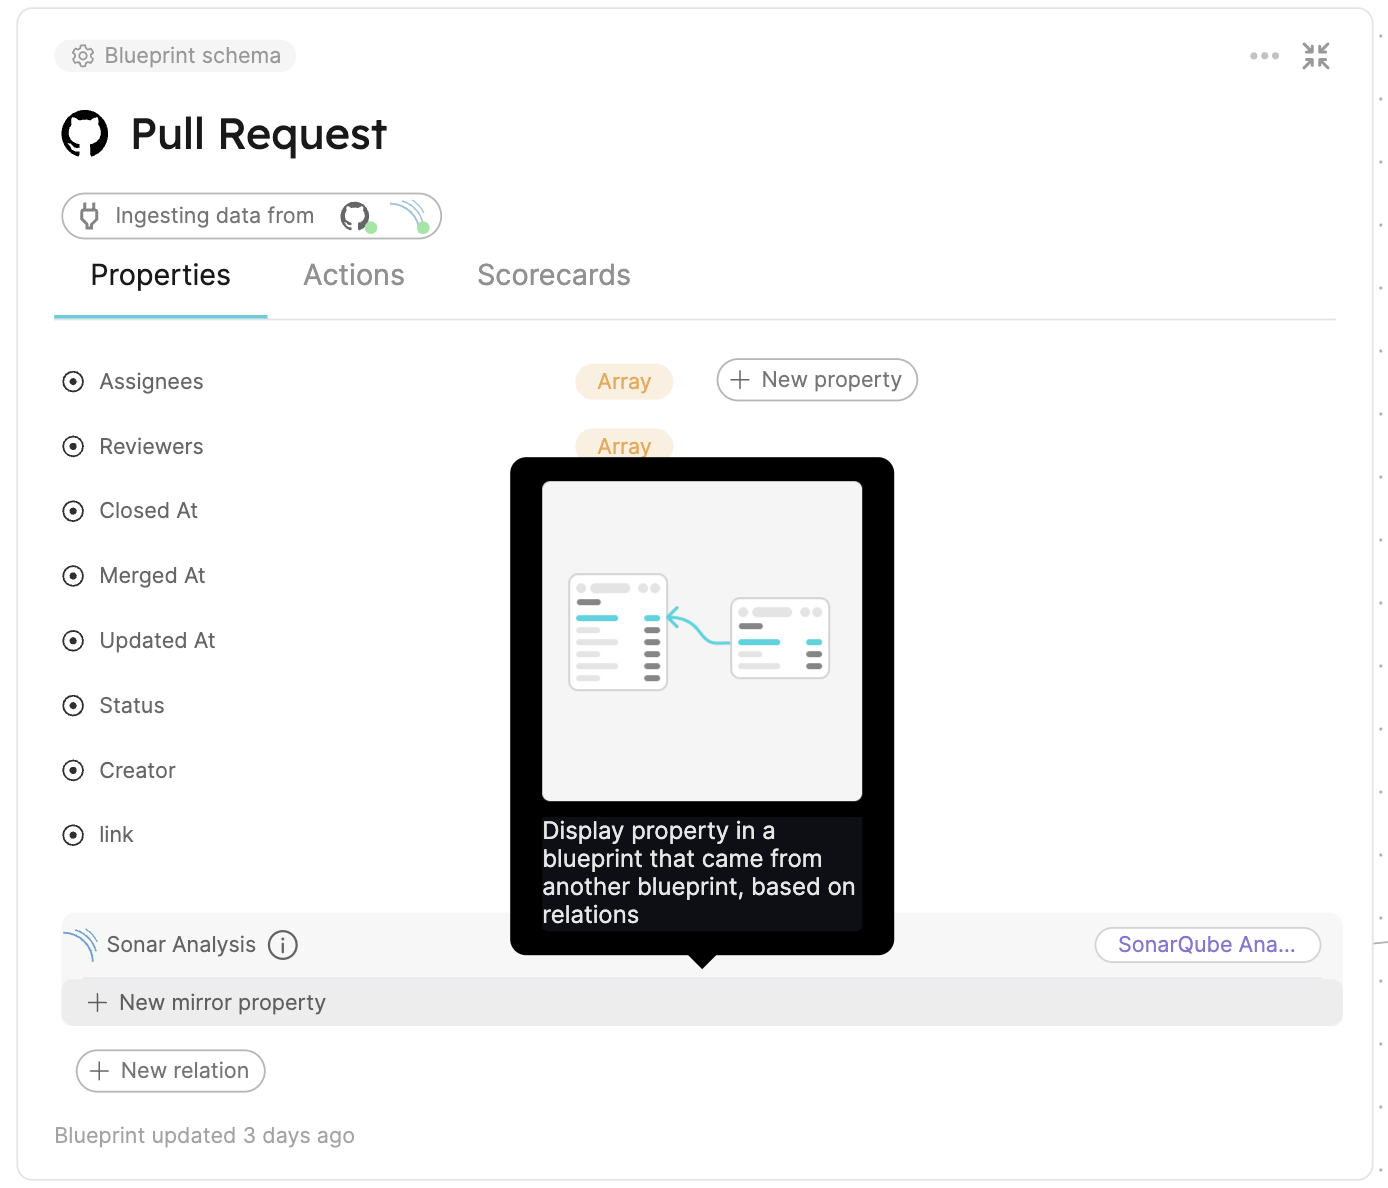
-
Fill the form out like this, then click
Create: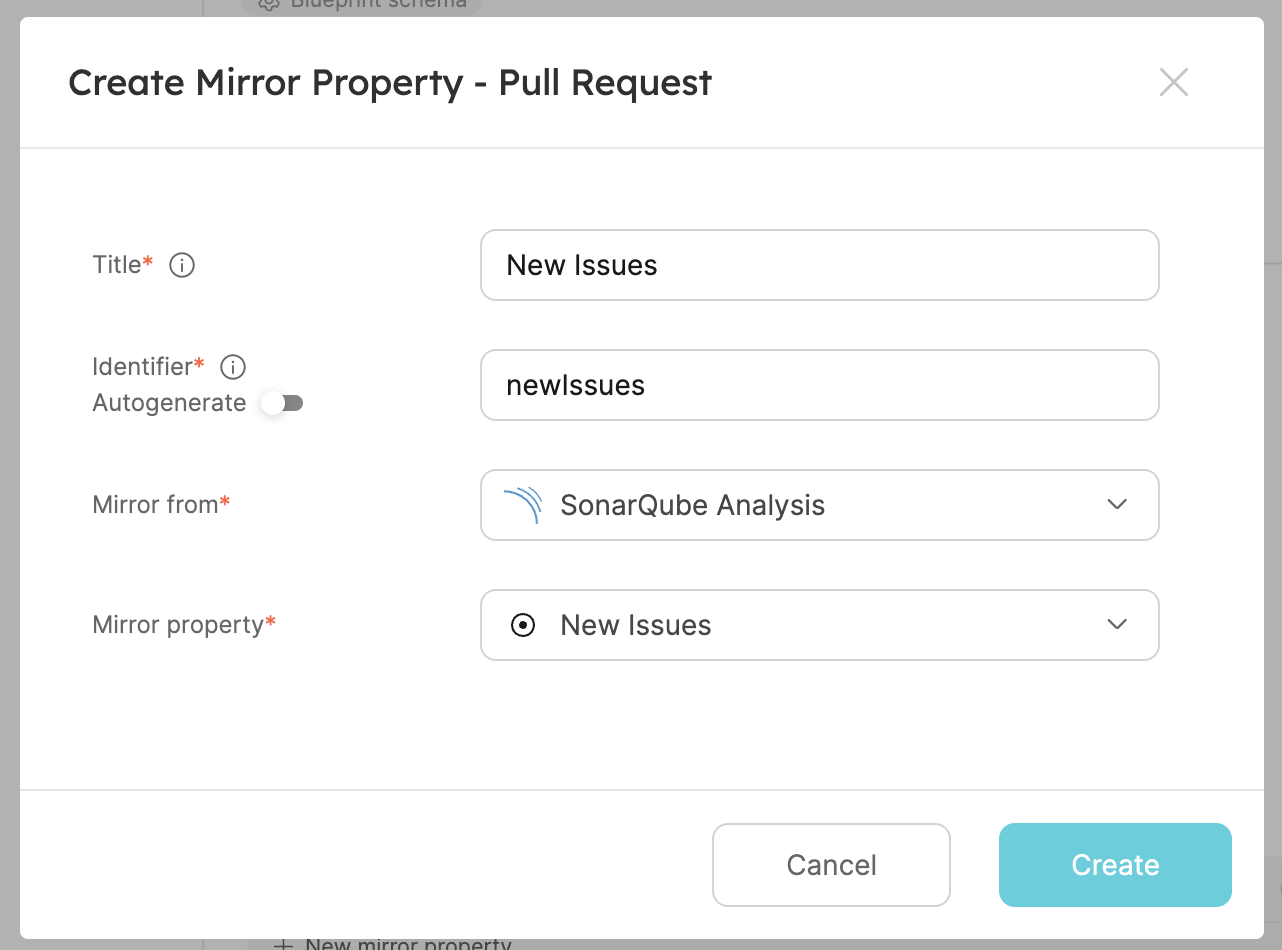
-
The second one will be the analysis code duplication. Create another mirror property, fill the form out like this, then click
Create: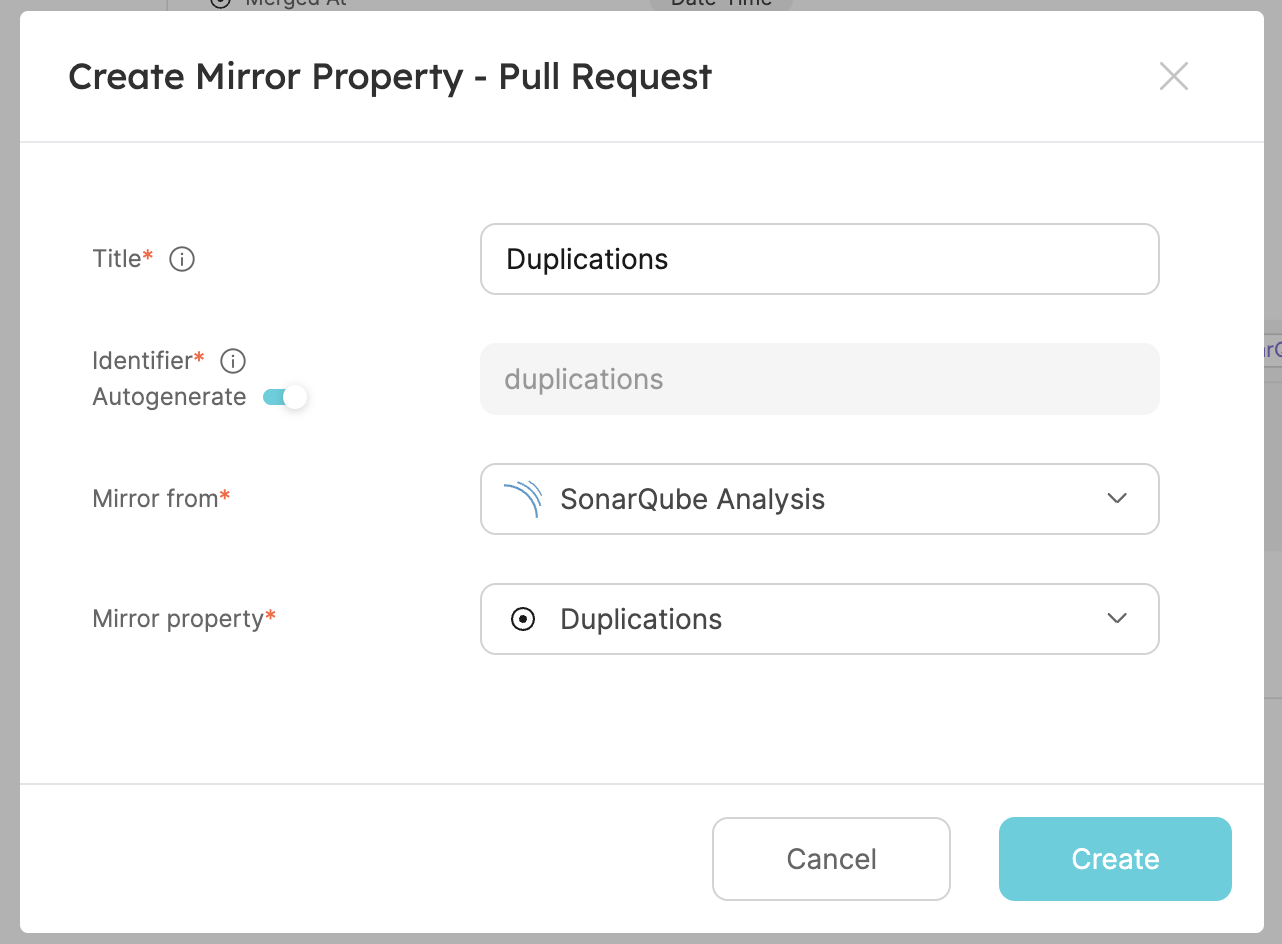
-
The third one will be the analysis coverage. Create another mirror property, fill the form out like this, then click
Create: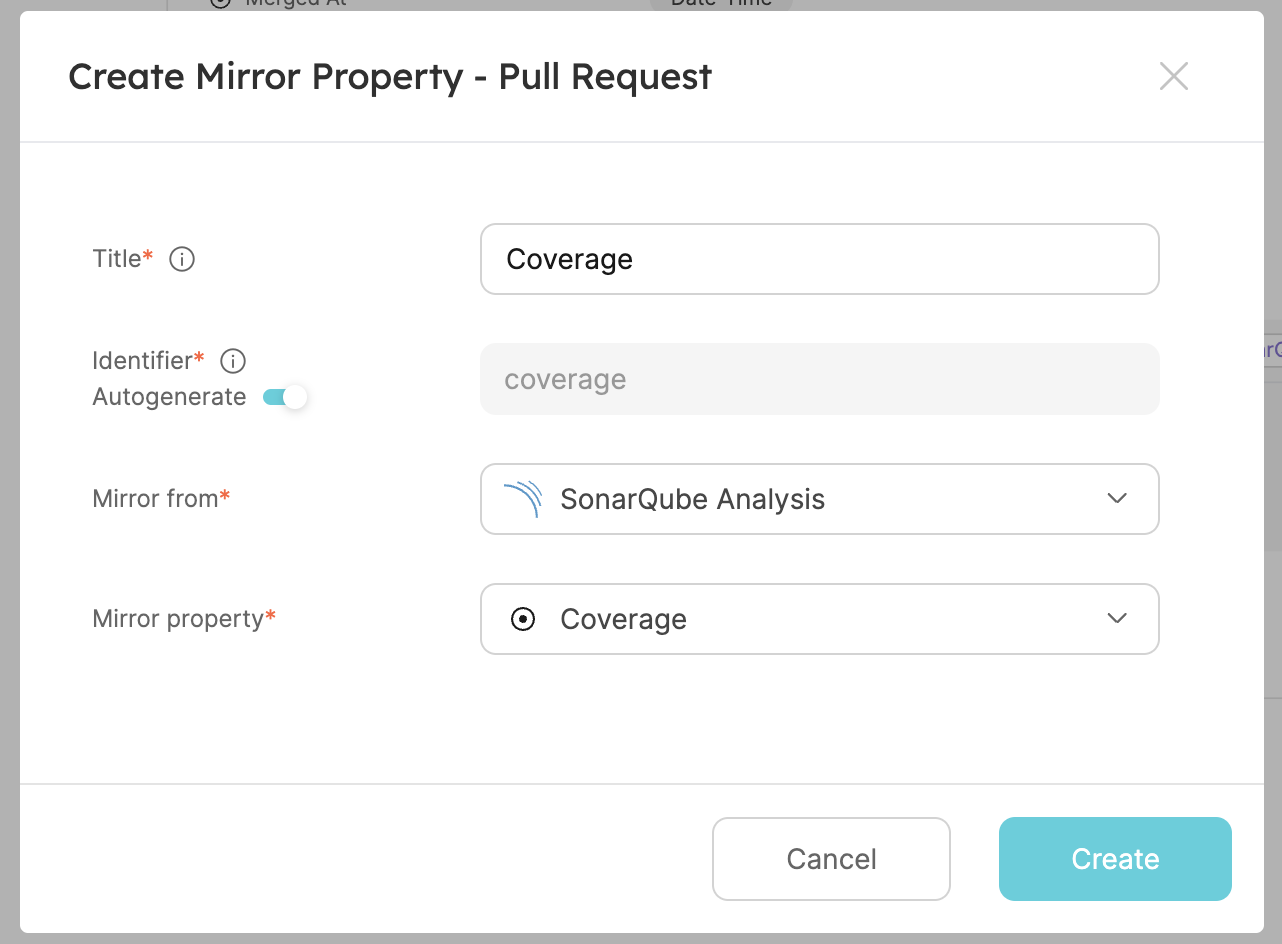
-
The fourth one will be the quality gate status of the analysis. Create another mirror property, fill the form out like this, then click
Create: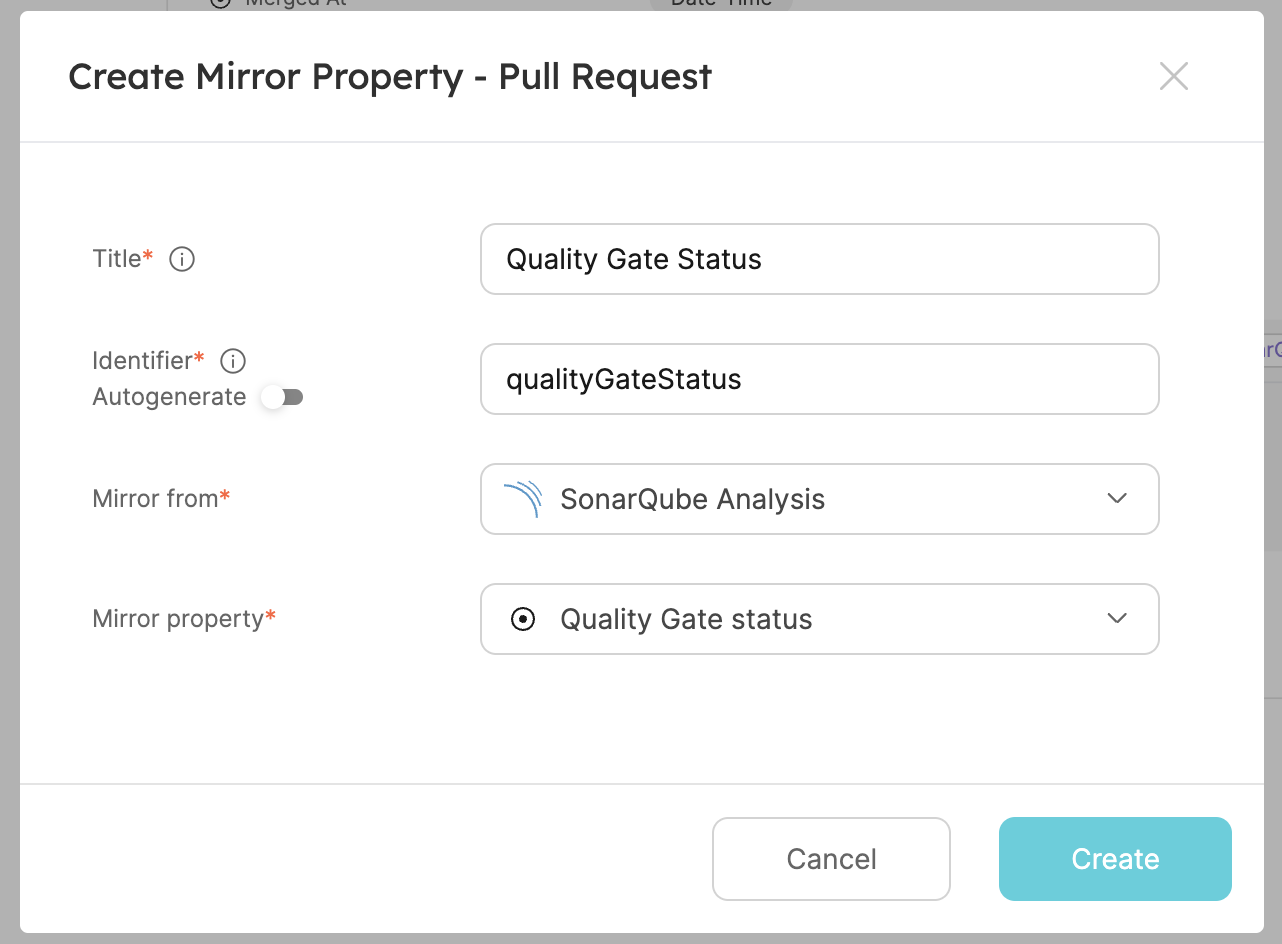
You should now be able to see these additional properties added to pull request entity in your software catalog.
Conclusion
By following these steps, you can seamlessly connect a GitHub pull request with a SonarQube analysis using either:
- Title and branch matching (matching based on PR title and branch name)
- Commit SHA matching (matching based on the commit SHA)
Choose the approach that best fits your team's workflow and requirements. Title and branch matching is more flexible but may require more configuration, while commit SHA matching is more precise but requires the SonarQube analysis to be run on the exact commit.
More relevant guides and examples: